

Last updated October 31, 2026
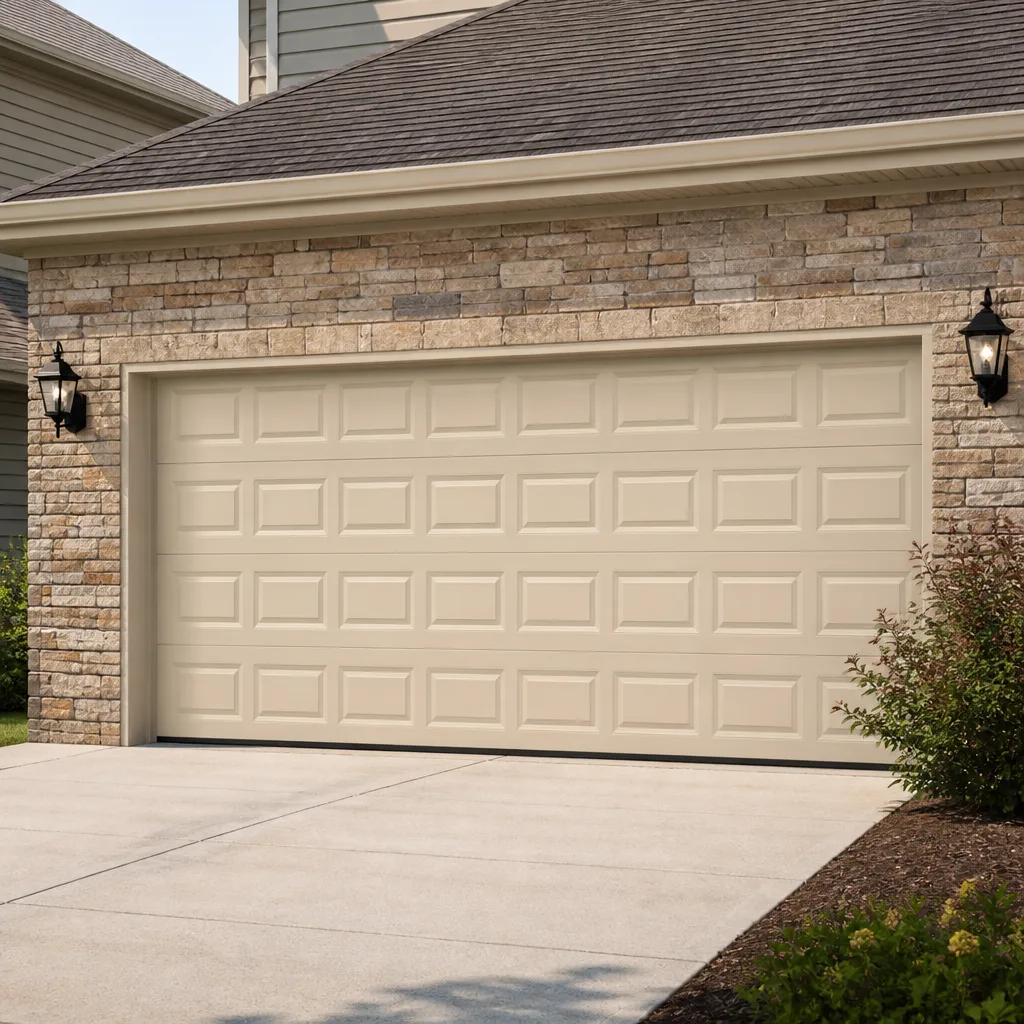 Raised-panel steel
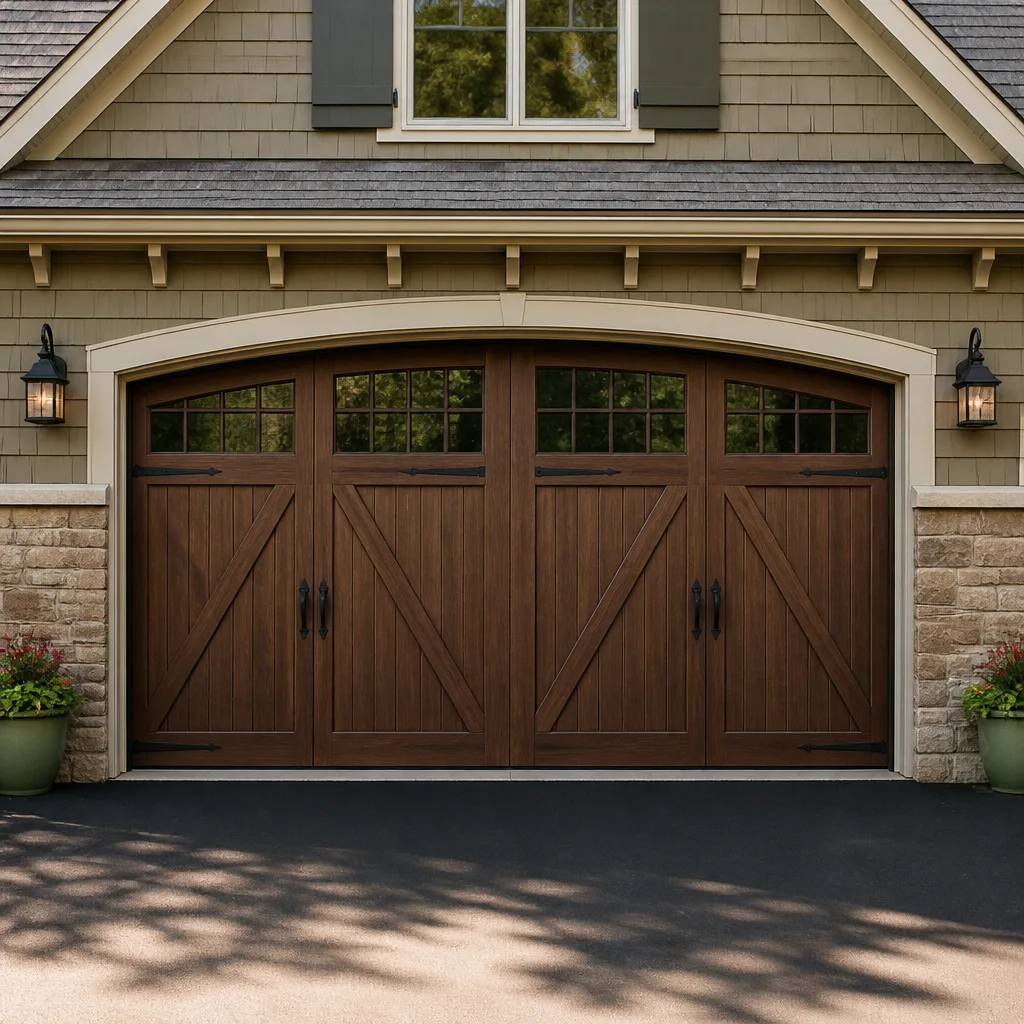 Carriage house
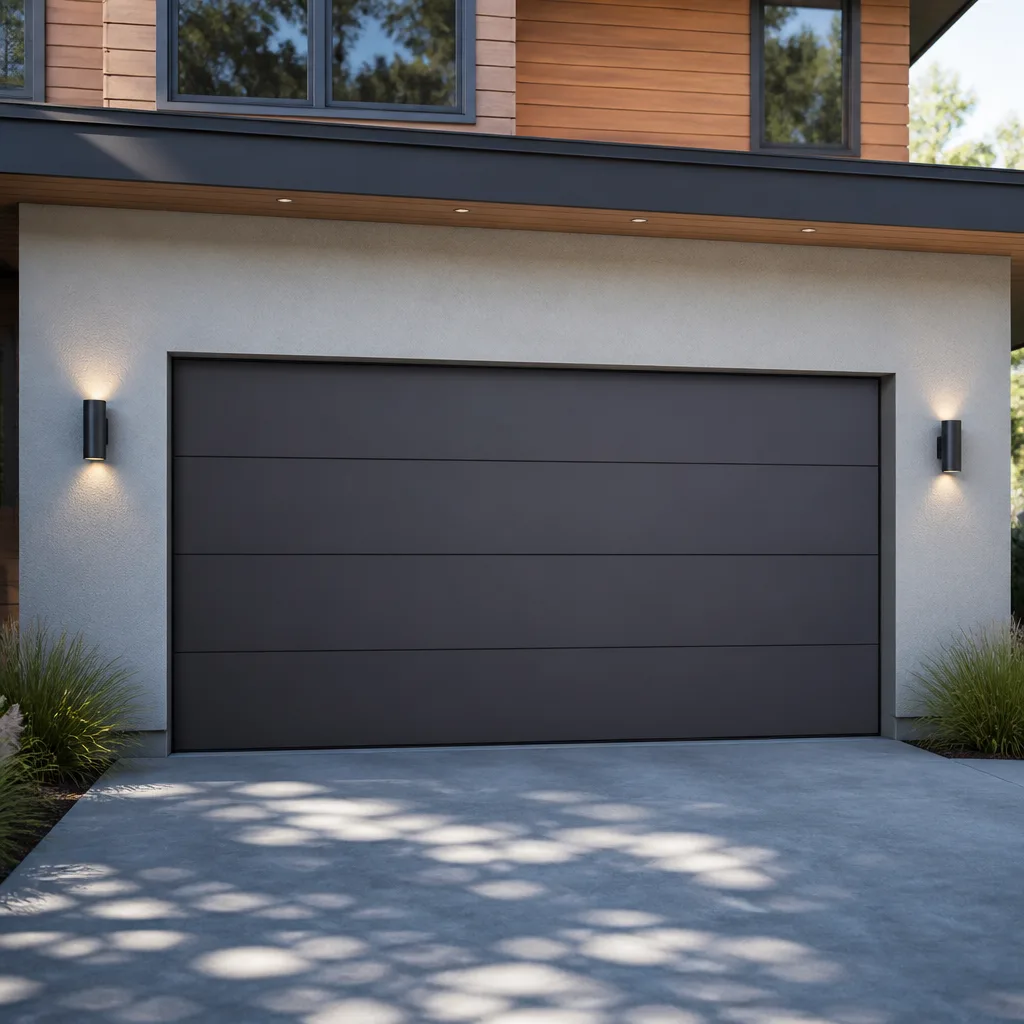 Modern flush
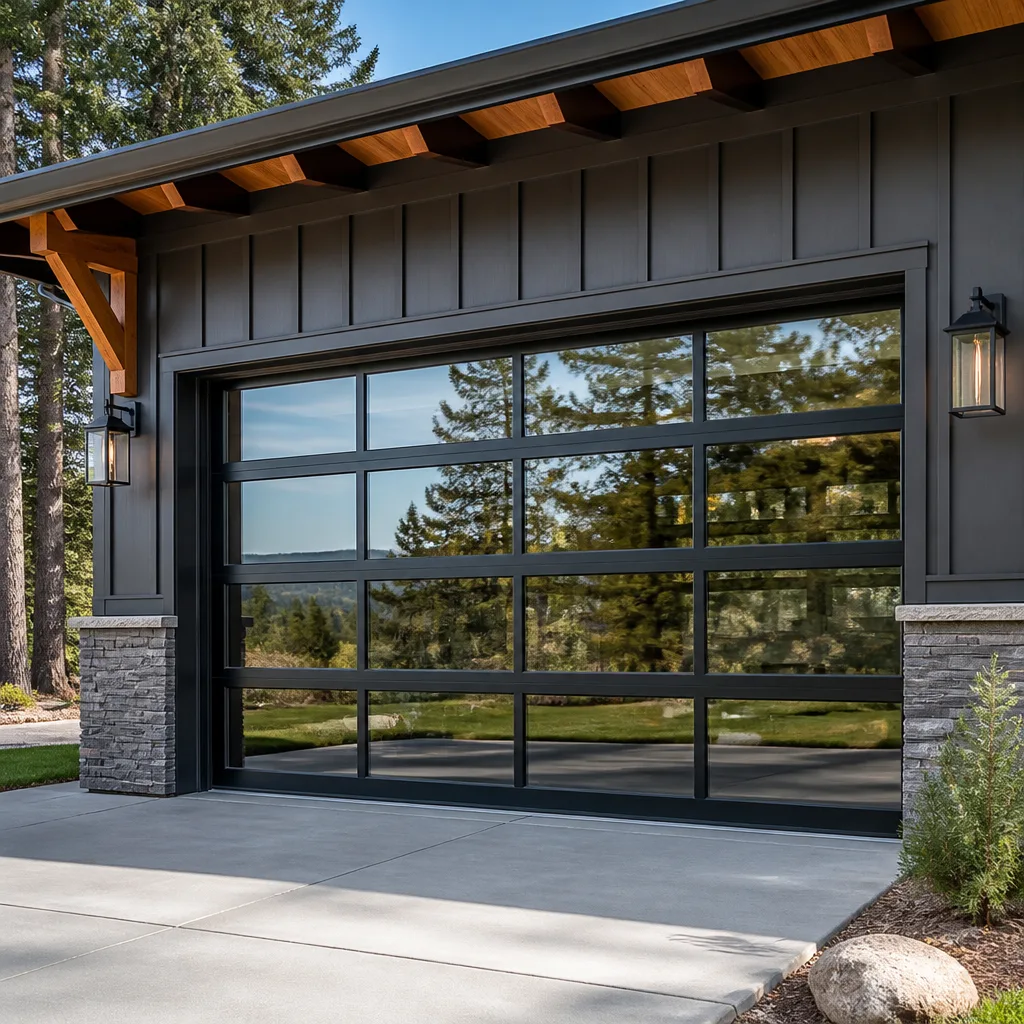 Full-view glass
 LiftMaster openers
 Chamberlain openers
Full 25-point door and opener safety check with every visit - springs, cables, rollers, tracks, and your LiftMaster or Chamberlain opener included
You get a price before we start. It does not change when the truck arrives.
Get your free estimateGarage Door Warning Signs: A Sacramento Homeowner’s Reference Guide
Most Sacramento homeowners replace parts that aren’t broken and ignore the ones that are about to fail. The hesitation you feel when your door starts to lift isn’t always a dying opener – in our summer heat, it’s often just dry rollers and caked grease on the track, an $80 fix that gets misdiagnosed as a $400 opener replacement. This guide gives you a real diagnostic framework: which symptoms are cosmetic, which ones need scheduled service, and which ones mean the door is genuinely unsafe to operate today. For more guides & resources, see our blog. We’ll cover the specific failure patterns we see across Sacramento, from Land Park to Natomas to Elk Grove, and teach you the 10-minute visual inspection that catches most problems before they become emergencies.
Quick Answer
The most serious garage door warning signs in Sacramento are a door that drifts down when half open, frayed or rusted cables, and a reversal mechanism that fails the two-by-four test – these mean the door is unsafe and should be locked out of service immediately. Less urgent signs like grinding, squealing, or slow operation usually point to worn rollers, dry track lubrication, or opener gear wear, which can be scheduled for repair without panic. Bottom seal gaps after Sacramento summers often indicate clay-soil frame shift rather than a simple seal failure, so replacing the seal without checking the frame means you’ll replace it again in a year.
Styles & brands we work with
Table of Contents
- The Three-Tier Severity System
- What Your Garage Door Is Telling You: Sound Diagnostics
- Sacramento-Specific Warning Signs
- The 10-Minute Homeowner Visual Inspection
- Safety Hazards for Children and Pets
- Opener Warning Signs Most Homeowners Miss
- Common Mistakes to Avoid
- When to Call a Professional
The Three-Tier Severity System
Every symptom fits into one of three categories. The entire point of this guide is teaching you the difference, because treating every noise or quirk as an emergency is expensive – and treating every emergency as a quirk is dangerous. Here’s the framework, in plain terms.
Tier 1: Monitor It
These are symptoms you can watch for a few weeks without creating risk. A door that’s slightly slower than it was last year. A faint squeak when the door rounds the curved section of track. A small gap at the bottom seal that lets in a little dust. A remote that needs a second button press now and then. None of these indicate imminent failure. They mean the system is aging, which every system does. Note them, keep an eye on them, and if they progress, move them up a tier. For Sacramento homeowners, the one exception is spring noise – we’ll cover that in the sound section because springs can turn tier-one noise into tier-three failure without much notice.
Tier 2: Schedule Service
These symptoms need professional attention within a week or two, but you can operate the door cautiously in the meantime. Examples: grinding that’s consistent every cycle, rollers that visibly wobble in the track, a door that shudders on the way down, an opener that’s louder than it used to be, a remote that works only from ten feet away. None of these mean the door is about to fall. They mean a component is wearing toward failure, and catching it before it breaks is cheaper and faster than fixing it after. Garage Door Repair in Sacramento work at this tier is almost always a one-visit fix, because the part is still intact and the diagnosis is straightforward.
Tier 3: Stop Using the Door Now
These are the symptoms where we tell customers to pull the release cord and leave the door in manual mode until a technician arrives. A door that drifts down after being lifted. A visible gap in a torsion spring. Frayed, kinked, or rusted cables. A door that’s crooked in the opening – one side higher than the other. A reversal mechanism that doesn’t reverse when it meets resistance. Any loud pop or bang from the spring area. These indicate compromised structural tension. The door weighs between 130 and 400 pounds depending on the model. When cables or springs fail under that load, the door falls fast and the result is serious injury or worse. If you see any tier-three symptom, unplug the opener and call for service immediately. This is the difference between a $200 spring repair and a $2,000 door replacement – or a hospital visit.
Here’s a quick reference table for the three tiers:
- Monitor: slight squeaks, minor slow-down, small seal gap, occasional remote miss.
- Schedule: consistent grinding, wobbling rollers, shuddering door, weakened remote range, rust on hardware.
- Stop: drifting door, broken spring, frayed cable, crooked door, failed auto-reverse, loud bang from spring area.
What Your Garage Door Is Telling You: Sound Diagnostics
Your garage door makes four distinct noises, and each one points to a different component. Learning to tell them apart is the single best skill for catching problems before they compound. Here’s what each sound means, and what to do about it.
Grinding
Grinding is metal on metal without bearings to soften the contact. The usual culprits are rollers whose internal bearings have disintegrated, or a chain drive on the opener that’s gone dry. In Sacramento, heat accelerates this – the lubricant in roller bearings thins and leaks out across a couple of summers, leaving you with steel rolling directly against steel. Grinding won’t fail tomorrow, but it’s chewing into the track and putting strain on the opener motor. It’s tier two: schedule service, and a technician will likely replace the rollers in under an hour. If your opener uses a chain, it may just need proper lubrication rather than replacement.
Squealing
Squealing is usually a lubrication problem, not a failure. It’s the sound of metal parts rubbing without any lubricant between them – hinges, the torsion spring coil, or the ball bearings in older rollers. A Genie or Chamberlain opener’s rail can also squeal if the trolley isn’t greased. This is the most over-diagnosed sound we see in Sacramento. It’s a tier-one issue in most cases: a shot of the right grease on the hinges and spring, and the noise is gone for months. Do not use WD-40. It’s a cleaner, not a lubricant, and it strips the existing grease out. Use a lithium-based or garage-door-specific grease.
Popping
Popping is the torsion spring binding and releasing as it turns. The spring is a coil of tempered steel that stores tension. When sections of the coil stick together – from rust, from age, from heat cycling – they release suddenly, making a sharp pop. Occasional popping is tier two: get the spring inspected. A spring that’s binding is moving toward fatigue at that specific point, and spring failure is sudden and violent. A single loud pop followed by the door not opening is tier three: that’s the spring breaking, and the door should not be operated until it’s replaced.
Rattling
Rattling is loose hardware. Bolts on the hinges, brackets on the track, the opener mount. Door panels and tracks vibrate constantly during operation, and Sacramento’s dry-season heat makes wood frames contract, which loosens what used to be tight. A rattle that’s consistent usually means a hinge bolt has backed out. A rattle that only happens at certain points of travel can mean the track has shifted slightly. Both are tier two if left alone, but an hour of bolt tightening can eliminate most rattles entirely. Our technicians find loose hardware on a third of the doors we service in Sacramento, usually bolts the homeowner never knew existed.
Sacramento-Specific Warning Signs
Garage doors behave differently in Sacramento than in coastal California or the humid South. Three local conditions create failure patterns we see repeatedly, and knowing them helps you interpret what your door is telling you.
Clay soil and the bottom seal. Much of Sacramento sits on expansive clay that swells with winter rain and contracts through the dry summer. When the soil under your garage slab moves, your door frame moves with it – fractions of an inch, but fractions matter. The bottom seal is attached to the door, not the floor. If the frame shifts and the floor stays put, the seal no longer meets the ground, and you get the classic summer gap that lets in dust, leaves, and heat. This is a frame-shift problem, not a seal problem. Replacing the seal alone fixes it for about a week, until the next contraction cycle. A proper fix adjusts the door’s travel limits or addresses the frame alignment. If you’re seeing a seal gap in August that wasn’t there in April, consider the clay before you buy another seal kit.
Heat cycling and spring fatigue. Sacramento’s summer days regularly pass 100°F, and a garage interior can hit 120°F or more. Torsion springs are tempered steel rated for a set number of cycles – typically 10,000 for standard springs. Every up-and-down cycle is a full tension-and-release. But heat doesn’t just use cycles; it accelerates metal fatigue at the crystalline level. A spring that would last 7 years in Seattle might fail in 5 in Sacramento, especially if the garage faces west and bakes in afternoon sun. The warning sign is a spring that’s visibly more relaxed than its matching partner, or coils that have developed tiny surface cracks and rust flecks. If your door is 8 or more years old and has original springs, a visual check is worthwhile insurance.
Dry air and lubrication loss. Sacramento’s humidity spends most of the year under 40%. Grease and oil dry out much faster here than in humid climates. The result is the grinding and squealing we covered above, showing up earlier and progressing faster. A homeowner in Portland might lubricate garage hardware twice a year. In Sacramento, quarterly is more realistic for busy doors. And when the lubricant is gone, the wear is immediate. We see Clopay and Amarr doors with roller tracks worn through the galvanizing because the bearing grease dried out six months before anyone noticed the new sound.
The 10-Minute Homeowner Visual Inspection
This is the highest-value ten minutes you can spend on your garage door. It requires no tools beyond your eyes and a flashlight, and it catches the highest-failure-rate components before they become emergencies. Do it every spring and fall, and after any major weather event or unusual noise.
- Close the door and check the springs. With the door down, look at the torsion spring assembly above the center of the door. You’re looking for two things: a visible gap in the coil, which means a broken spring, and a spring that looks noticeably less tightly wound than its partner if you have two. Either is tier three. Do not touch anything – just look.
- Check both cables. The lifting cables run along each side of the door from the bottom bracket up to the drums near the top. Look for frayed strands, kinks, rust, or slack. A cable with any visible damage is tier three. A frayed cable is a loaded gun; it can snap without warning and the door will fall on that side.
- Open the door halfway and release the opener. Pull the red release cord so the door is disconnected from the opener. Lift the door about waist height and let go. It should stay where you put it. If it drifts down significantly, the spring tension is wrong or the springs are failing – tier three. If it rises on its own, same thing in reverse. Then return the door to manual operation and re-engage the opener.
- Walk the track line. Stand under the open door if it’s manually open, or use a ladder if it’s closed, and look along each track. You’re checking for visible track spread, bends, or rust on the track itself. A track that’s shifted or bent puts the rollers under pressure and eventually derails the door. Minor surface rust is cosmetic. Deep flaking or bending is tier two.
- Inspect the rollers. With the door in the down position, use a flashlight to look at each roller where it meets the track. The roller should sit squarely in the track and roll without wobbling. Chipped or cracked roller wheels, wobbling, or wheels that look flattened on one side are tier two. Metal rollers showing rust are on their way out.
- Test the auto-reverse. This is the single most important safety check in the whole sequence. Place a two-by-four flat on the ground in the center of the door’s path. Close the door. When it meets the board, the door should reverse immediately and rise. If it doesn’t reverse, or if it crushes the board and keeps pressing, this is a tier-three safety failure and the door should not be operated until the reversal mechanism is adjusted or repaired. Test the sensor brake as well by placing the board two inches inside the photoelectric beam path – the door should stop and reverse.
- Lubricate what needs it. If your inspection found dry hinges, a squeaky spring, or sticky rollers, apply a lithium-based grease to the hinge pivots and spring, and a light oil to the roller bearings. Never use penetrating oil or WD-40. If the rollers are sealed and won’t take lubricant, they need replacement – note it as tier two.
That’s the full sequence. Seven steps, ten minutes, and you’ve covered the components that account for roughly 80% of the emergency calls we get in Sacramento. If everything comes back clean, you’ve earned six months of peace of mind. If anything flags, you now know whether to monitor, schedule, or stop. For seasonal maintenance tips, see our guide on Seasonal Garage Door Care for Sacramento: Year-Round Homeowner’s Guide.
Safety Hazards for Children and Pets
Children and pets are smaller, faster, and less predictable than adults, and the warning signs that matter most for them are the ones that turn an inconvenience into an injury. Three specific failures deserve your attention if there are kids or animals in your home.
Slow or failed auto-reverse. The auto-reverse mechanism is the primary safety net between a closing door and anything underneath it. Federal law has required auto-reverse on all garage door openers since 1993, but older openers become slow to trigger as force settings drift. Test the reversal monthly with the two-by-four method. A door that doesn’t reverse on contact can crush a pet or seriously injure a child. If your opener is pre-1993, it lacks the photoelectric sensors modern doors have, and replacement is the right call rather than endless adjustment.
Visible cable damage. A frayed or rusted cable isn’t just a door problem – it’s a projectile problem. When a cable snaps under tension, the broken end lashes out. In a garage where kids play or pets wander, that’s an unacceptable risk. Any visible cable damage is tier three: stop using the door until the cable is replaced.
Unbalanced spring tension. An unbalanced door is heavier on one side. A child or pet pressing the opener button on a severely unbalanced door can cause it to come off the track, and a door off its track can fall on whatever is under it. If your door is visibly crooked in the opening, or if it struggles more on one side, this is tier three. The springs are doing uneven work, and the failure mode is sudden.
Here’s a plain-language priority list for households with kids and pets:
- Test auto-reverse monthly. Ten seconds, no tools, and it’s the difference between safe and dangerous.
- Look at the cables weekly. If you see rust, frays, or kinks, stop using the door.
- Notice if the door is crooked. Any visible unevenness is tier three until proven otherwise.
- Keep remotes out of reach. Children pressing the opener repeatedly accelerates wear on every component and can injure pets in the wrong moment.
- Teach the rule. No standing under a moving door, no riding the door, no hanging from the handle. Simple rules that prevent most garage injuries.
Opener Warning Signs Most Homeowners Miss
Door problems and opener problems are different things, but homeowners often can’t tell which they’re hearing. That’s why we treat Garage Door Opener Repair in Sacramento as its own specialty, not an add-on. Openers fail differently than doors, and catching opener problems early is the difference between a repair and a replacement. Here are the signs specific to openers that most people miss or misattribute.
The opener runs but the door doesn’t move. If you hear the motor humming but the door stays put, the opener’s gear or coupler has failed. This is the most common opener failure across all brands – Chamberlain, Genie, and older Craftsman units all use plastic internal gears that strip under repeated stress, especially in Sacramento heat that makes the plastic brittle over time. This is almost always repairable: the gear kit is a $30 part and about an hour of labor. Don’t replace the opener over a stripped gear.
The door reverses immediately on closing. This is usually the photoelectric sensors, not the opener motor. Clean the sensor lenses and make sure they’re aligned. If a Sacramento summer has shifted the door frame or the track, the sensors can drift out of alignment even if the door still operates. When cleaning and alignment don’t fix it, the issue is at the circuit board level – and that’s where opener-specific diagnostic skill matters, because the wiring and logic for a Chamberlain is different than a Genie.
The opener gets louder every month. Gradual volume increase points to a worn gear, a failing sprocket, or a belt that’s losing tension. It’s easy to write this off as “the door getting noisier,” but the source matters. Open the cover (with the unit unplugged) and look for plastic shavings under the gear assembly – a sure sign of wear. Catch it before the gear strips entirely and you’re looking at a minor repair instead of a sudden failure on a Sunday night.
Smart features work intermittently. Modern openers – the Chamberlain myQ line, Genie’s Aladdin Connect – rely on Wi-Fi and app connectivity. Intermittent smart connectivity is usually a router-range or firmware issue, not a hardware failure. The opener’s radio might be fine; the problem is the signal reaching it. Before you call for service, try moving your router, removing obstacles between the garage and the router, or updating the opener’s firmware through the app. If the smart features fail alongside mechanical symptoms, the control board is likely the culprit.
We’re factory-familiar with the openers most common in Sacramento homes, and we service the brand you already own rather than steering you toward a replacement you don’t need. If you’re considering a new door, our guide on Choosing the Right Garage Door Brand: A Buyer’s Guide for Sacramento can help. Opener diagnostics have their own failure patterns, their own wiring, and their own quirks – treating them as just another part of the door is how misdiagnoses happen.
Common Mistakes to Avoid
- Lubricating a worn roller instead of replacing it. Lubricant can’t fix a roller whose bearing has already failed. If a roller wobbles or turns roughly, grease just delays the track damage. Replace it. Sacramento’s dry heat means a roller that’s started grinding has usually already lost most of its bearing.
- Replacing the bottom seal without checking the frame. On Sacramento’s clay soil, a seal gap that appears in late summer is usually frame shift, not seal wear. Replacing the seal alone means you’ll be buying another one in a year. Get the alignment checked before you buy parts.
- Waiting on a frayed cable. Frayed cables don’t heal. Every cycle makes them worse, and when they snap, it’s sudden and dangerous. This is the most common tier-three symptom we see homeowners try to wait out.
- Testing the auto-reverse by hand. Pushing against a closing door with your hand tells you nothing useful. The two-by-four method applies consistent force the way the mechanism actually experiences it. Test with a board, not a hand.
- Adjusting spring tension yourself. Torsion springs are under enough tension to cause serious injury or death. This is not a DIY adjustment. A trained technician uses specific tools and procedures. Every year, homeowners in Sacramento end up in the ER from spring mishaps. Call a professional for any spring work.
- Replacing an opener over a bad gear. A stripped gear kit is a $30 part and an hour of labor. A new opener is $300 to $600, and many replacement openers are installed when only a gear, board, or sensor needed repair. Get a diagnosis before you buy.
- Ignoring a door that works “fine” until it doesn’t. The most expensive repairs are the ones that could have been caught six months earlier. The 10-minute inspection above costs you nothing but time, and it catches failures at tier two instead of tier three.
When to Call a Professional
Any tier-three symptom – drifting door, broken or gaped spring, frayed cable, failed auto-reverse – means you should stop using the door and call a technician today. Tier-two symptoms like consistent grinding, wobbling rollers, or opener noise warrant a scheduled visit within a week or two. And if you’ve run the 10-minute inspection and found anything you can’t confidently categorize, a professional eye is worth more than a guess. At Carlton Garage Door Repair home page will tell you, we’re brand-agnostic: we service the door and opener you already have, whether it’s a Clopay door on a Chamberlain opener, an Amarr on a Genie, or any other combination. We diagnose first, recommend replacement only when repair isn’t the right value, and quote every job before any work starts. Garage Door Installation in Sacramento is here when replacement is genuinely the right call, and we’ll tell you honestly if it’s not. Carlton Garage Door Repair offers free estimates throughout Sacramento – call (833) 589-6808 and we’ll walk you through what you’re seeing over the phone before we ever schedule a visit.
See the difference
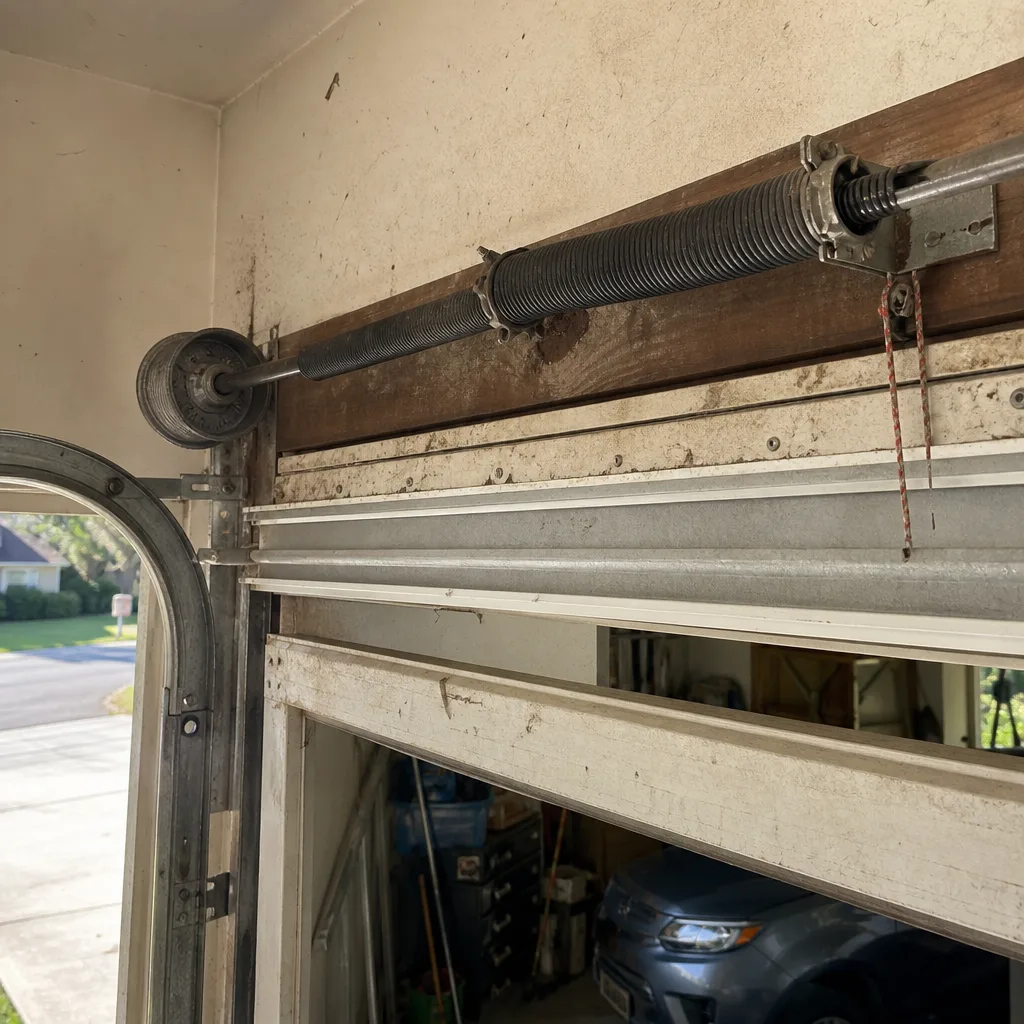 Before
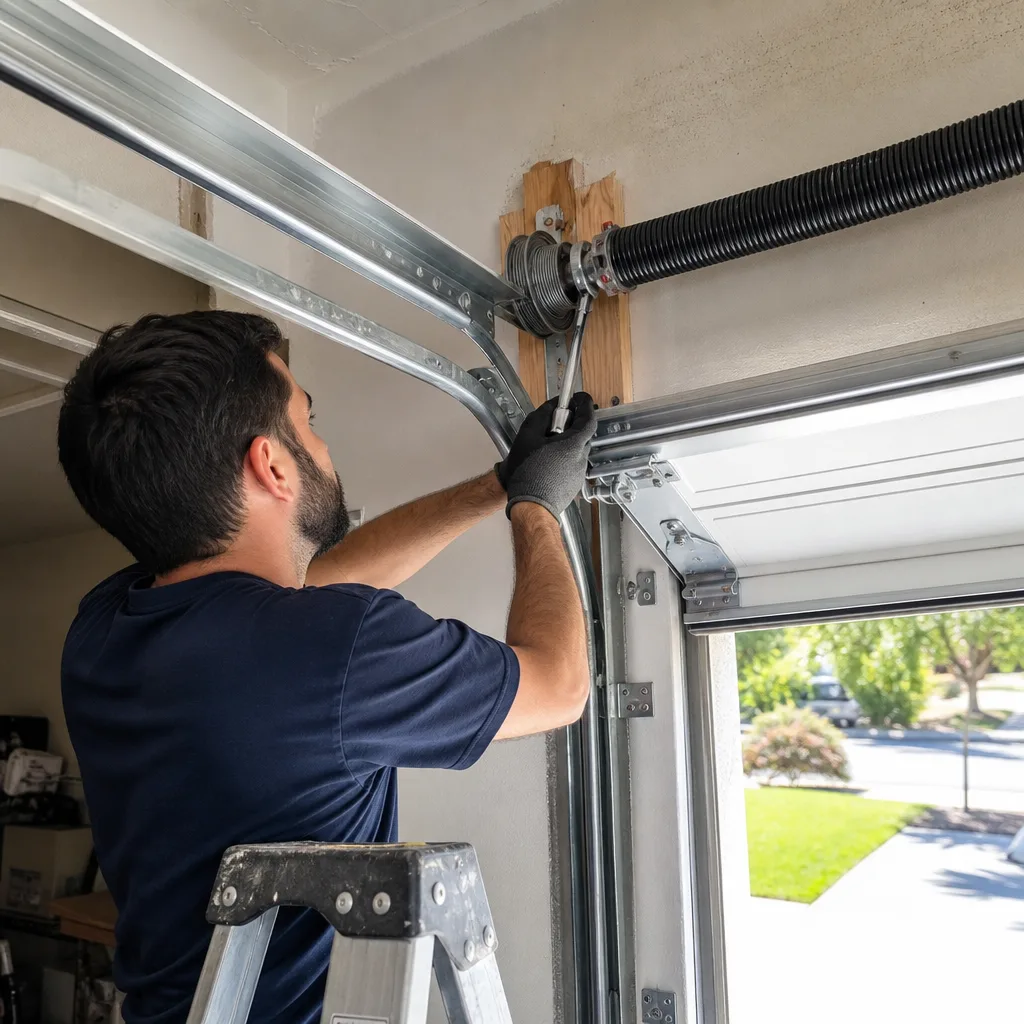 After
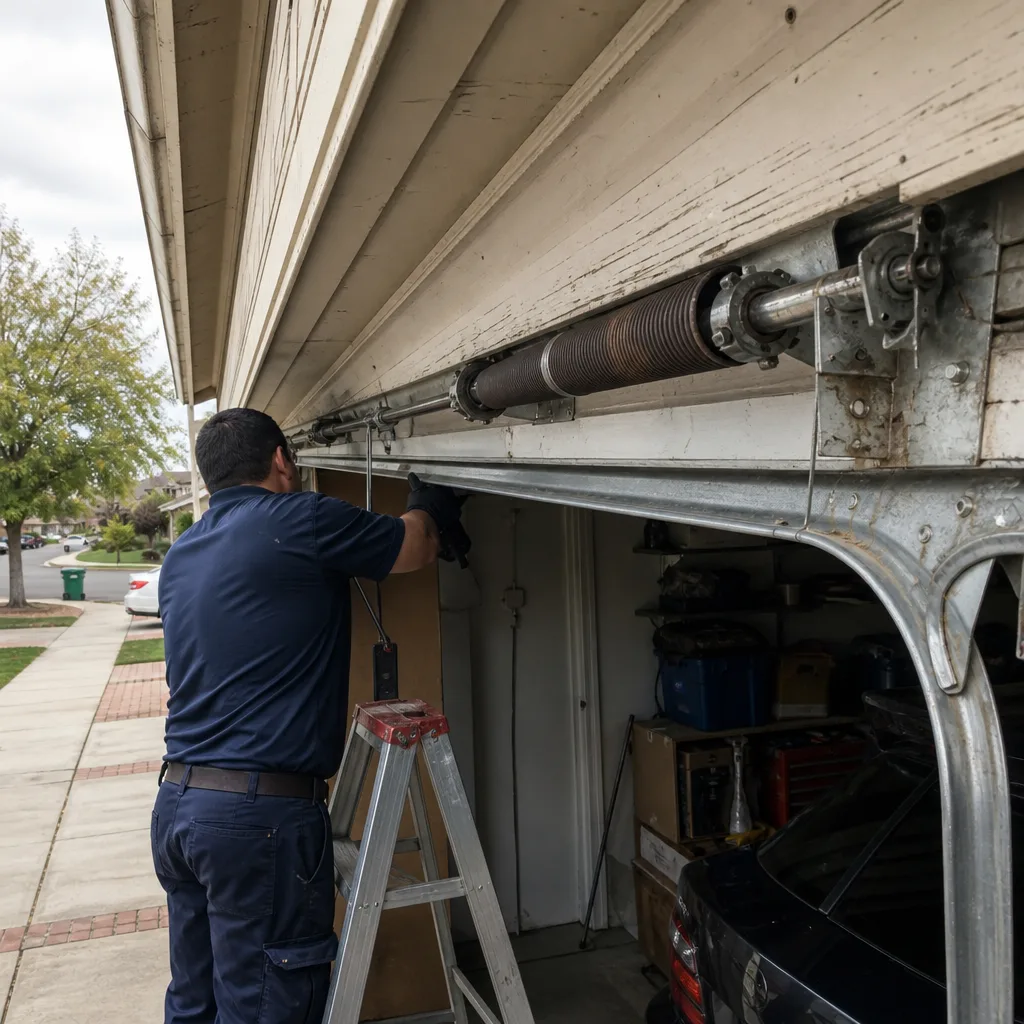 Before
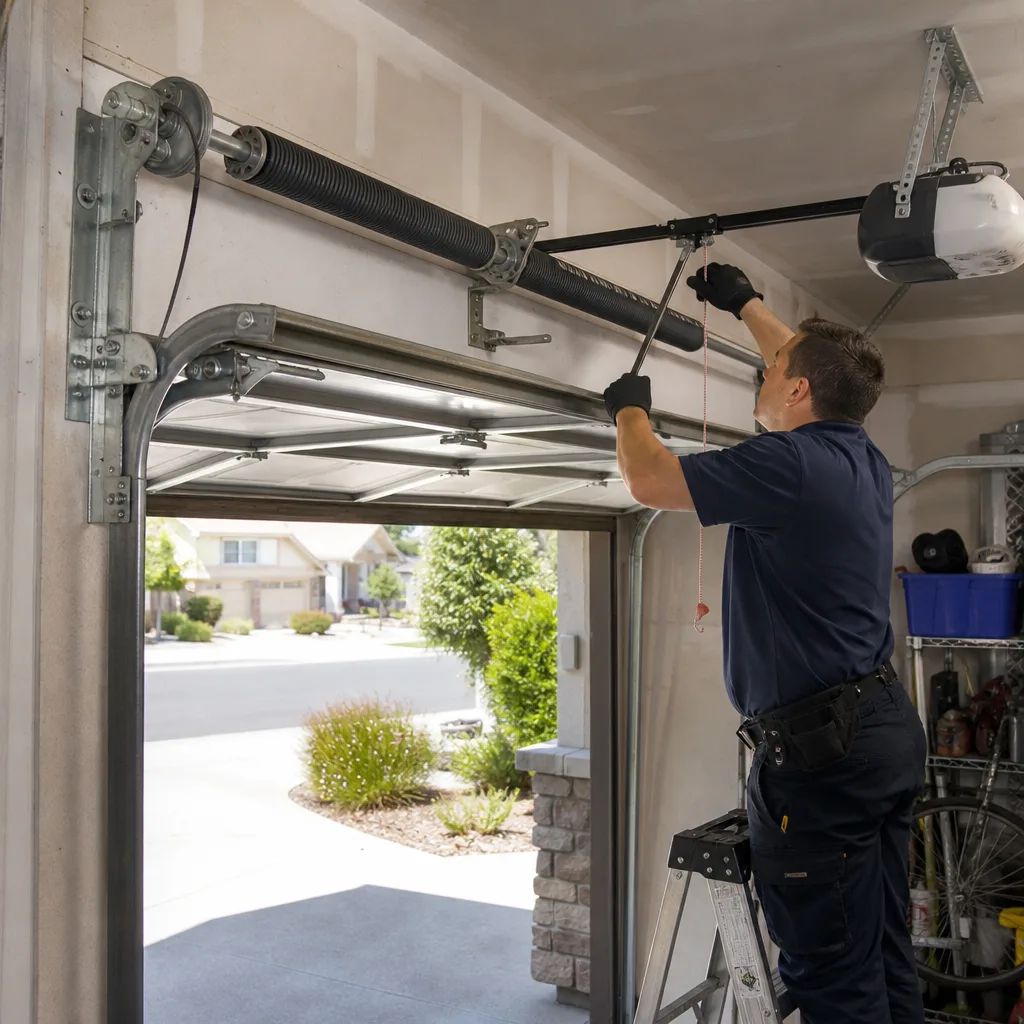 After
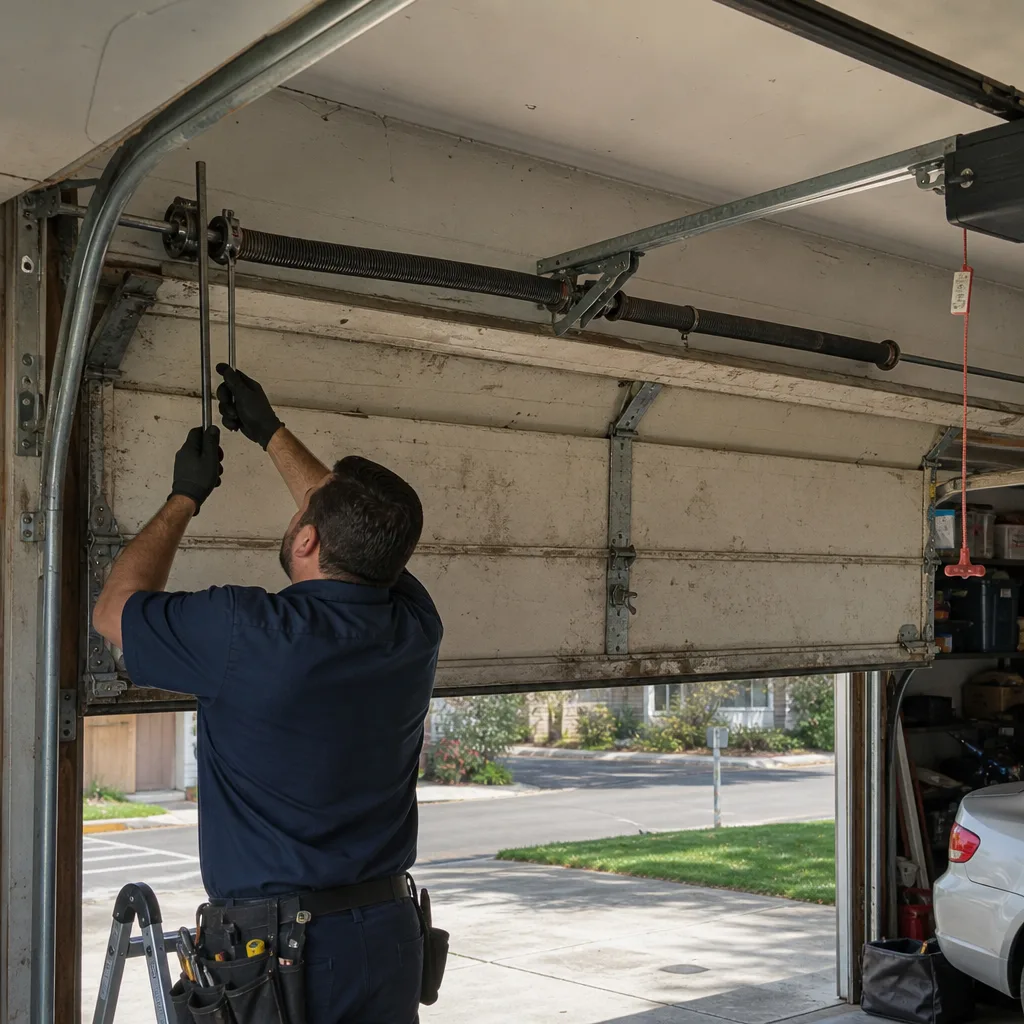 Before
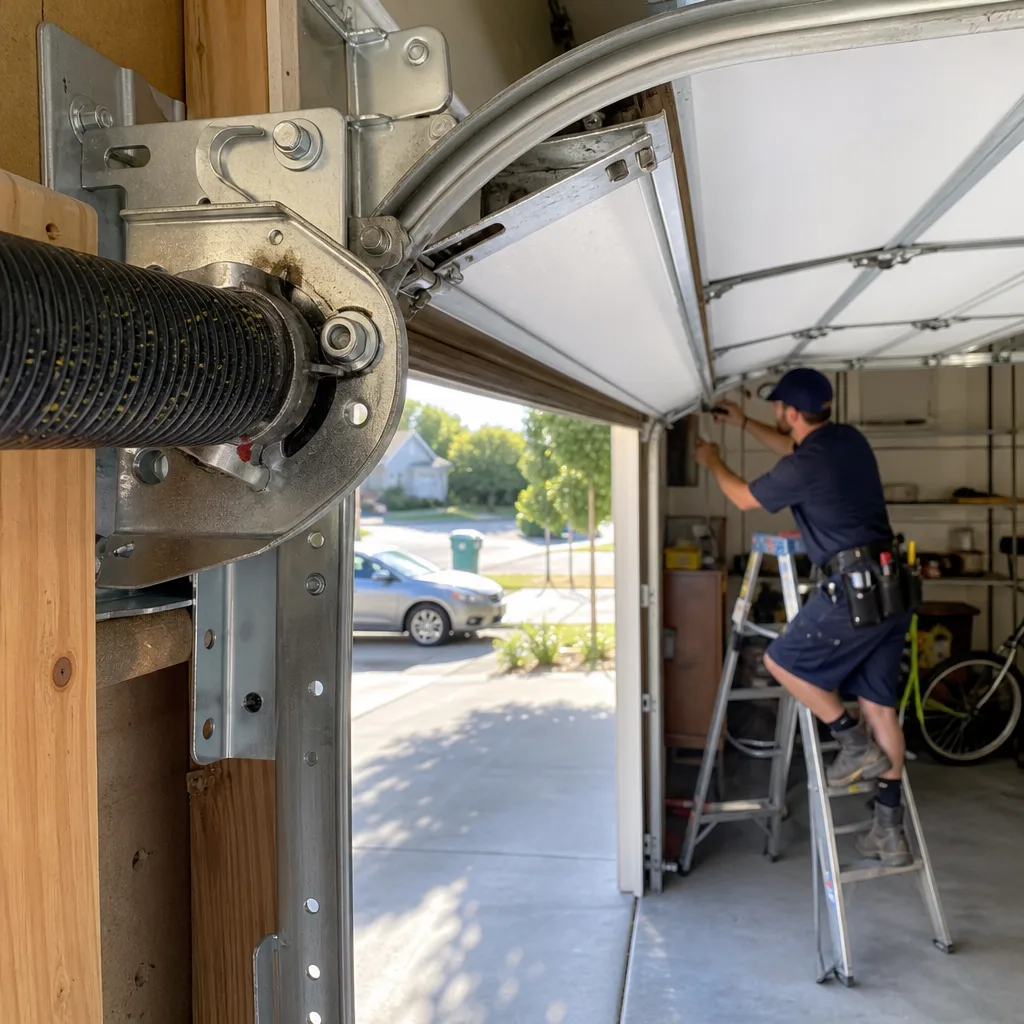 After
Frequently Asked Questions
A door that drifts down after you lift it halfway indicates failed or failing spring tension, which is the single most dangerous condition a garage door can have because the full weight of a 150 to 400-pound door can drop without warning. Other critical signs include frayed cables, a failed auto-reverse test, and a door that’s visibly crooked in its opening. If you notice any of these, stop using the door and call (833) 589-6808 for same-day service in Sacramento.
Sacramento garage door repair costs typically run $85 to $180 for minor work like roller replacement or track lubrication, $180 to $340 for spring or cable repair, and $300 to $650 for opener gear or circuit board replacement. Larger jobs like full panel replacement or complete door replacement run higher, and we always quote the exact price before any work begins. Call (833) 589-6808 for a free estimate on your specific issue.
Yes, in most cases. We carry the highest-failure parts on the truck – springs, cables, rollers, opener gears, and sensor components – across the brands we service, which means the majority of repairs we do in Sacramento are completed in a single visit. Call (833) 589-6808 and we’ll give you an honest arrival window and a diagnosis before we start any work.
In Sacramento, a bottom seal gap that appears during the dry season is usually caused by clay soil contracting under your garage slab, shifting the frame slightly so the door no longer meets the floor evenly. Replacing the seal alone typically doesn’t fix this because the frame is still shifted – the door’s travel limits or the frame alignment needs correction. In our experience, this is the most common misdiagnosed symptom we see in Sacramento homes.
Most door noise is not dangerous – squealing usually means dry lubrication, and rattling usually means loose hardware, both of which are tier-one or tier-two issues. However, popping sounds from the spring area can indicate spring binding, which precedes spring failure, and sudden loud bangs followed by the door not working indicate a broken spring. The noise itself isn’t the danger; the component making it is. If your door has recently become loud and you’re not sure which category it falls in, call (833) 589-6808 and describe the sound – we’ll tell you over the phone whether it’s urgent.
Most repairs are cheaper than replacement, and a well-maintained door can last 15 to 30 years in Sacramento’s climate before replacement makes financial sense. We recommend replacement when the door is rusted through, when panels are so dented or damaged they compromise structural integrity, or when you want to upgrade to an insulated door for Sacramento’s summer heat. We’ll give you an honest assessment of repair cost versus replacement value, and we service the brand you already own rather than pushing a new purchase.
The Bottom Line
Warning signs aren’t just about knowing something is wrong – they’re about knowing how wrong, and how fast you need to act. A squeak you can monitor, a grinding roller you should schedule, a frayed cable you must stop using now. The framework above gives you that judgment. Sacramento’s climate creates specific failure patterns: clay-soil frame shift, heat-accelerated spring fatigue, dry-air lubrication loss. Knowing your local conditions means you can anticipate problems instead of just reacting to them. Run the 10-minute inspection twice a year, know the three tiers, and call a professional when you’re uncertain. That’s how you keep a dangerous machine safe, and how you avoid paying for replacements you never needed. We’re here when you need us – free estimates, upfront pricing, and the brand expertise to fix what you already own. Call Carlton Garage Door Repair at (833) 589-6808.
Written by the team at Carlton Garage Door Repair, serving Sacramento since 2012.