

Last updated October 31, 2026
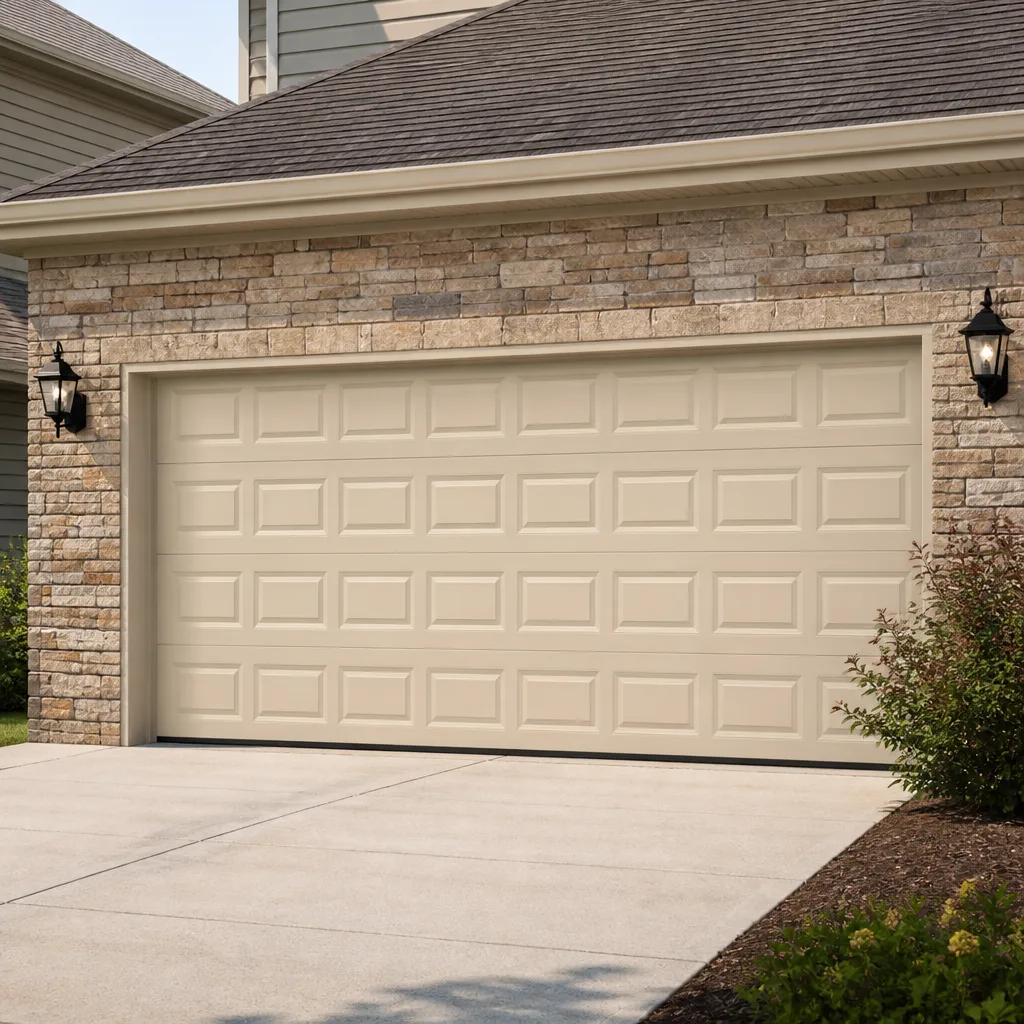 Raised-panel steel
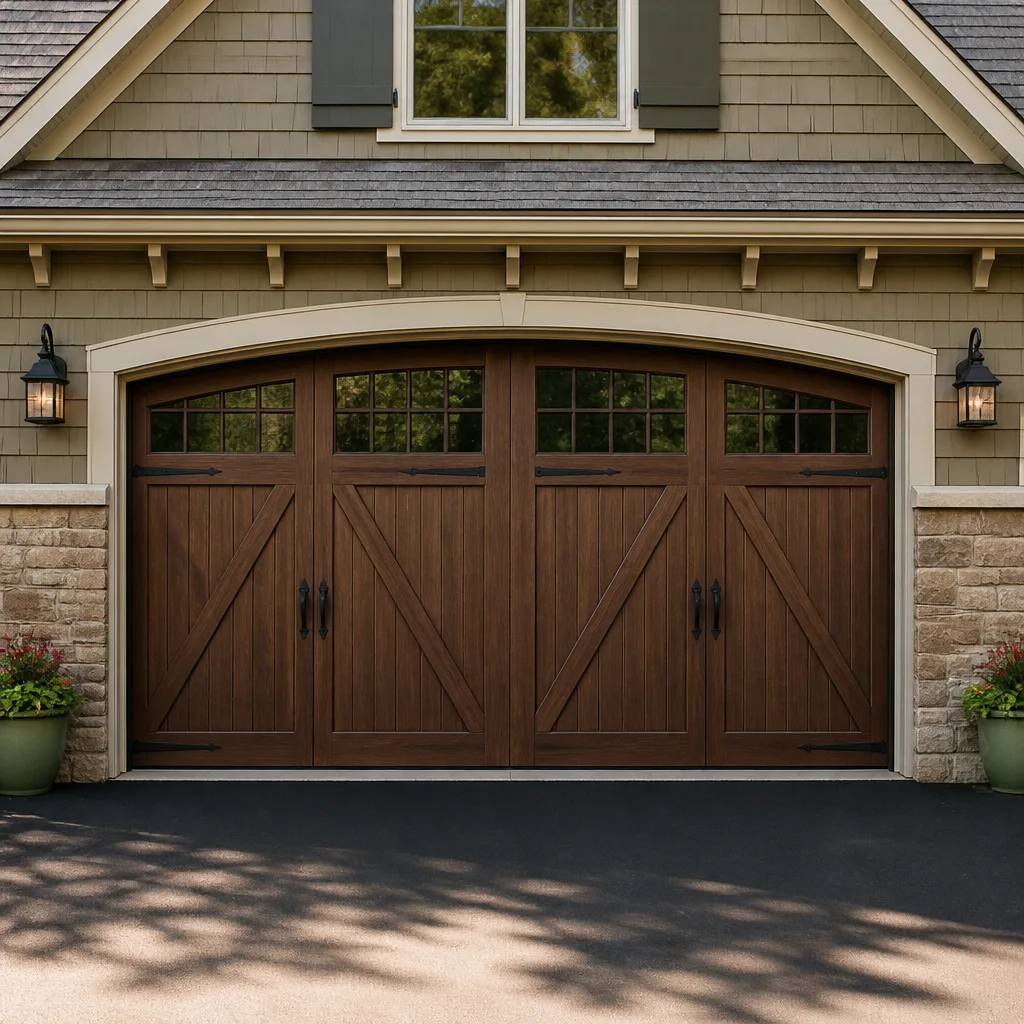 Carriage house
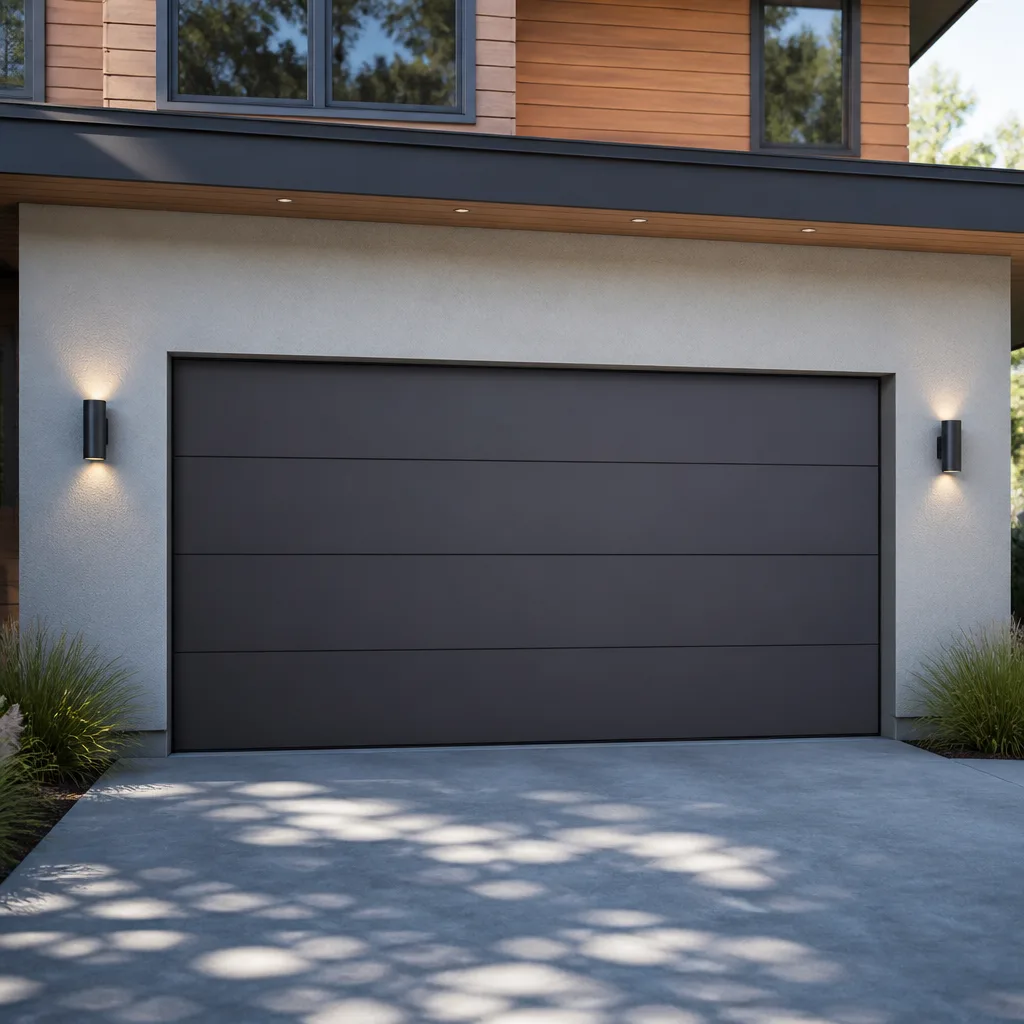 Modern flush
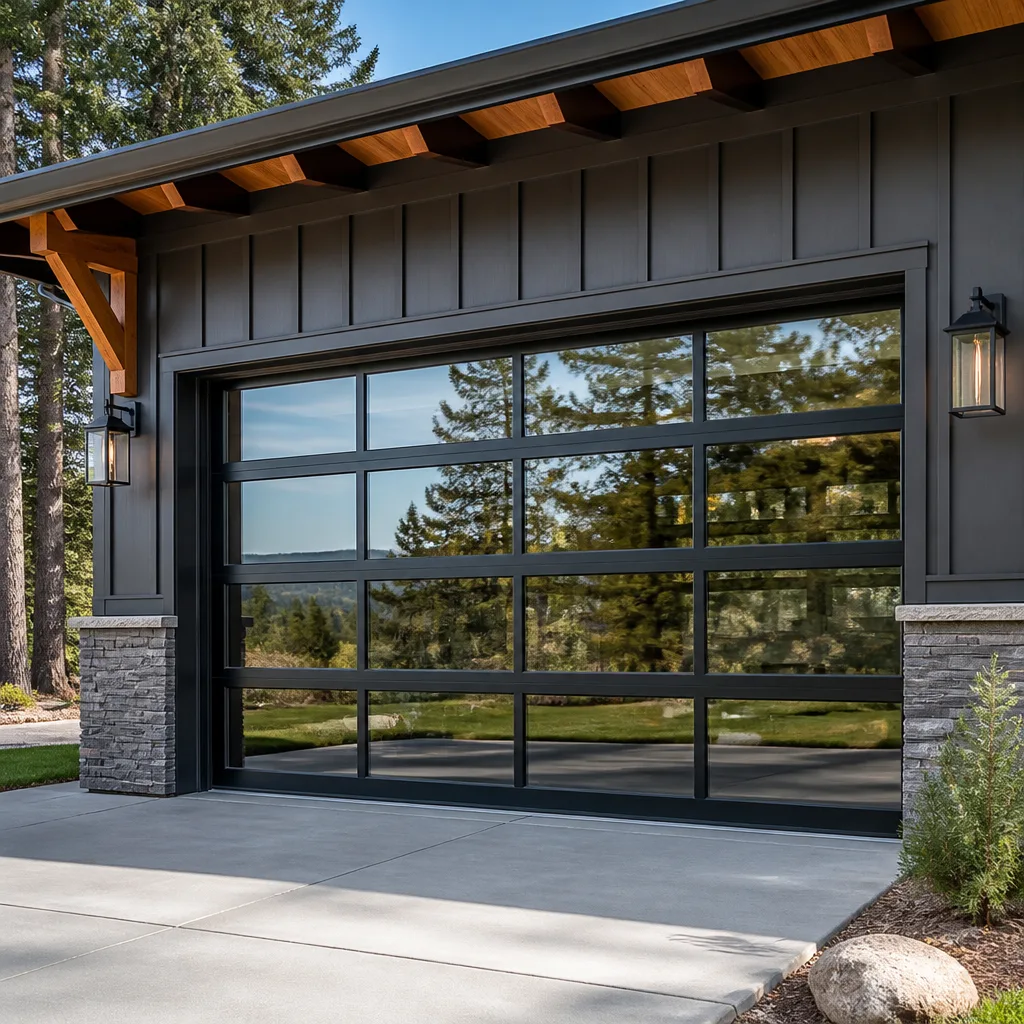 Full-view glass
 LiftMaster openers
 Chamberlain openers
Full 25-point door and opener safety check with every visit - springs, cables, rollers, tracks, and your LiftMaster or Chamberlain opener included
You get a price before we start. It does not change when the truck arrives.
Get your free estimateGarage Door Repair Troubleshooting: Common Problems and How to Fix Them
Most garage door problems get misdiagnosed before a technician ever arrives. Not because homeowners lack mechanical sense, but because the visible symptom rarely points to the actual failure. A door that reverses off the floor, a grinding noise, a remote that works only sometimes – each of these traces back to a specific subsystem, and knowing which one saves you time, money, and frustration. This guide walks through the diagnostic logic we use for our Garage Door Repair services in Sacramento daily, organized by the four systems inside every garage door setup. By the end, you’ll know what’s safe to check yourself, what signals a real repair need, and exactly what to tell a technician so you get an accurate quote the first time.
Quick Answer
Garage door troubleshooting works best when you isolate which of the four systems is failing: springs, cables, tracks, or the opener/electronics. Start by disconnecting the opener and lifting the door manually – if it’s heavy or uneven, you have a mechanical problem; if it lifts smoothly, the issue is electrical. A door that reverses, grinds, sags on one side, or won’t respond to the remote each points to a different root cause, and most can be narrowed down in under five minutes without touching anything dangerous.
Styles & brands we work with
Table of Contents
- The Four Systems Behind Every Garage Door
- Door Reverses Before It Closes
- Remote or Wall Button Doesn’t Work
- Grinding, Squealing, or Rattling Noises
- Door Sags or Sits Unevenly on One Side
- Door Moves Too Slowly or Jerks While Operating
- Safety Sensor Problems and Blinking Lights
- What to Have Ready Before You Call a Technician
The Four Systems Behind Every Garage Door
A garage door looks like one unit, but it’s actually four independent systems that have to work together. When something fails, the first step is figuring out which system owns the problem.
- Springs – Counterbalance the door’s weight. Torsion springs mount above the door on a metal shaft; extension springs stretch along the horizontal tracks. When a spring breaks, the door becomes extremely heavy, which is why a door often won’t open more than a few inches after a snap.
- Cables – Transfer spring tension to the door itself. Cables fray, slip off drums, or snap under load. A door that hangs crooked or drops suddenly on one corner usually has a cable issue.
- Tracks and rollers – Guide the door through its travel path. Bent tracks, worn rollers, or accumulated debris create friction that shows up as noise, slow movement, or binding.
- Opener and electronics – The motor, logic board, remote, wall button, safety sensors, and limit switches. This is the system most likely to fail intermittently, because it depends on power, signal, and programming all working at once.
Here’s the practical part. Disconnect the opener using the red emergency release cord. Lift the door by hand. If it’s heavy, hard to move, or doesn’t stay up on its own, the problem is mechanical (springs, cables, tracks). If it moves easily and stays in place, the problem is the opener or its electronics. This single test takes 30 seconds and eliminates half the possibilities.
In Sacramento, we see seasonal patterns that shape which system fails first. Summer heat accelerates spring metal fatigue and dries out roller bearings. Winter brings moisture that corrodes cable strands and causes track misalignment as metal contracts. Knowing your door’s age and history helps narrow things down. Doors over 10 years old with original springs are statistically more likely to have a spring failure. Doors under 5 years old with electronic symptoms usually trace back to sensor alignment or a dying opener battery.
If you’re not sure which system you’re dealing with, our Garage Door Repair in Sacramento page explains the diagnostic process in more detail.
Door Reverses Before It Closes
A garage door that reverses off the floor, or halfway down, before it reaches the ground is following a specific set of instructions. The question is whether those instructions came from a safety system or from a misadjusted limit switch.
Start with the safety sensors
Every garage door opener made after 1993 has photo-eye sensors mounted about 6 inches off the ground on either side of the door. These send an invisible beam across the opening. If anything interrupts that beam while the door is closing, the opener reverses the door. That’s safety working as intended.
The two most common sensor failures are misalignment and obstruction. A sensor that gets bumped, knocked slightly off angle, or covered in spider webs will break the beam and trigger the reverse. Check the small indicator lights on each sensor. If one or both are blinking or dark, that’s your clue.
- Wipe the sensor lenses with a soft, dry cloth. Dust, pollen, and moisture from Sacramento’s dry summers and foggy winters accumulate quickly.
- Check that both sensors point directly at each other. A sensor knocked even 10 degrees off angle can lose the beam.
- Look for anything in the beam path: a shovel handle, a trash can, a rake, or even a single cobweb.
- Tighten the sensor mounting brackets if they feel loose. Vibration from the door cycling can loosen them over time.
- Test the door. If it still reverses, the problem is likely the limit switch, not the sensors.
Then check the close-force and travel limits
If the sensors are aligned and the beam is clear, the opener’s close-force setting or down-limit is probably set too sensitively. The opener thinks the door has hit something and reverses to avoid damage. On older units, this is a dial on the back of the motor. On newer LiftMaster or Chamberlain units, it’s a smartphone app or button-press sequence.
A door that lowers, touches the ground, then immediately reverses before it presses firmly against the pavement almost always has a down-limit or close-force issue. A door that reverses several inches above the ground is more likely a sensor or obstruction problem.
Remote or Wall Button Doesn’t Work
When the wall button works but the remote doesn’t, the problem is the remote, not the opener. When neither works, the opener itself has lost power or its logic board has failed. This distinction matters, because the fix is completely different.
Wall button works, remote doesn’t
- Remote battery. The most common cause. Replace the battery first, even if the indicator light still flickers. Low voltage produces weak or intermittent signals.
- Remote programming. A remote can lose its rolling-code sync after a power outage or when another remote is programmed. Reprogramming takes about 30 seconds on most LiftMaster, Chamberlain, Genie, and Craftsman openers.
- Interference. LED bulbs installed in the opener or in a nearby fixture can emit RF interference that blocks the remote signal. This is surprisingly common and often overlooked. If your remote works from 3 feet away but not from the driveway, try removing any recently installed LED bulbs.
- Range issues. A remote that works only when you’re close to the door often signals a dying opener receiver or a remote battery that’s nearly dead.
Wall button and remote both dead
- Power interruption. Check the outlet the opener plugs into. A tripped GFCI outlet or a blown circuit breaker kills the opener entirely. In Sacramento homes with older electrical panels, a single outlet may feed the garage and an exterior circuit.
- Lock button engaged. Most wall buttons have a lock mode that disables all remotes. It’s easy to activate accidentally.
- Opener logic board. If there’s power to the outlet and the lock isn’t engaged, the opener’s control board may have failed. A board that’s receiving power but not responding to any input typically needs replacement.
Opener electronics are a distinct repair category. A multi-brand technician who works on Craftsman, LiftMaster, and Genie units every week will diagnose a logic board failure faster than someone who only handles door hardware. That’s why Garage Door Opener Repair in Sacramento is a service we treat as its own specialty, not an add-on.
Grinding, Squealing, or Rattling Noises
Noise tells you where to look before you see anything. A garage door makes three distinct sounds, and each one points to a different part of the system.
Grinding or metal-on-metal scraping
Grinding usually comes from rollers running against a track that’s lost its alignment, or from rollers with flattened bearings. As Sacramento temperatures swing from summer heat to winter cold, metal tracks expand and contract. Over time, this micro-movement can shift brackets just enough that the roller scrapes against the track face.
Open the door and watch the rollers as it moves. If you see any roller sliding rather than rolling, or hear metal scraping at one specific point in the travel, mark that spot and inspect the track. Sometimes the fix is as simple as tightening a bracket. Other times the track needs realignment. Never try to bend a track back into shape with a hammer – once the metal is deformed, the track usually needs replacement.
Squealing or high-pitched whining
A squeal that follows the door’s movement usually means dry rollers or a dry opener drive system. Chain-drive openers squeal when the chain needs lubrication. Belt-drive openers rarely squeal unless the belt is loose. Nylon rollers with sealed bearings don’t need lubrication, but steel rollers do.
Apply a silicone-based lubricant to hinges and steel rollers. Do not use WD-40 – it’s a solvent, not a lubricant, and it attracts dirt that turns into grinding paste. If the squeal remains after lubricating, the roller bearings are done and replacement is the real fix.
Rattling or banging during travel
Rattling usually means loose hardware. The bolts holding the track brackets, the hinges connecting each panel, and the opener mounting straps all work loose over thousands of cycles. Tighten what you can reach with a socket wrench. For anything connected to the spring system, leave it alone – spring hardware is under tension and tightening or loosening it without proper tools is dangerous.
Door Sags or Sits Unevenly on One Side
A garage door that sits lower on one side, or looks crooked when partially open, almost always points to a cable problem. Not a spring problem. Not a panel problem. A cable problem.
Here’s why. The cables connect the spring system to the bottom corners of the door. When one cable frays, slips off its drum, or snaps entirely, the spring tension is suddenly applied to only one side. The door gets pulled unevenly, and the result is a visible tilt when the door is in motion or at rest.
Open the door about halfway and then release the emergency cord so the door stays in place. Stand back and look at the gap between the bottom of the door and the floor. If one side is noticeably higher, that’s an uneven load. Look at the cables running along the outside of each track. A cable that’s slack, frayed, or off its drum confirms the issue.
This is one of the problems where we draw a hard line: do not attempt to fix a cable yourself. The cables are under the same tension as the springs, and a cable that slips or snaps during an amateur repair can cause serious injury. In our experience across Sacramento, detailed in our guide on Garage Door Warning Signs: A Sacramento Homeowner’s Reference Guide, a door that sags on one side has either a frayed cable that’s about to break or a broken spring on one side that’s been hiding behind the cable. Both require a technician.
What you can do is photograph the cable and the door tilt and have those photos ready when you call. A technician who can see the problem before they arrive can bring the right parts on the first visit. If you’re researching full replacement options, our Garage Door Installation in Sacramento page covers what’s involved in upgrading an older door.
Door Moves Too Slowly or Jerks While Operating
A door that grinds through its travel, stutters, or moves noticeably slower than it used to is complaining about friction. Something in the system is resisting movement, and the opener is working harder than it should.
Check the simple things first
- Lubricate the rollers, hinges, and springs. A door that hasn’t been lubricated in years will move like it’s pushing through mud. Use a silicone spray on hinges and steel rollers. A lithium-based grease works for the torsion spring.
- Tighten the opener chain or belt. A loose chain sags and catches on the sprocket, creating a jerky motion. A loose belt slips, causing the same stutter. Both openers have an adjustment mechanism for tension.
- Check for track obstructions. A bent track or a misaligned section acts like a speed bump. Run your hand along the track while the door is closed. If you feel a kink or a dent, that’s the resistance point.
- Look at the rollers. Flattened or seized rollers add friction at every point of contact. Rollers with visible wear, cracks, or flat spots need replacement.
If the door moves smoothly by hand with the opener disengaged, and the opener is properly lubricated and tensioned, the problem is likely inside the opener itself. A motor that’s losing power, a capacitor that’s failing, or a drive gear that’s stripping all produce slow, jerky operation. These are repairable, but they need an opener-savvy technician.
Here’s a Sacramento-specific note: many garage door openers are rated for a certain number of open/close cycles. In neighborhoods where garages are used as primary entry points – and that’s most Sacramento homes – the door cycles many times more per day than the manufacturer’s rating assumes. That accelerated wear shows up as motor or gear fatigue earlier than the opener’s age would suggest.
Safety Sensor Problems and Blinking Lights
Since 1993, federal regulations have required garage door openers to include a safety reversal system: two photo-eye sensors near the floor, one on each side of the door. When the beam between them is broken while the door is closing, the opener must reverse. If the beam is blocked when the door is trying to close, the opener will refuse to operate and usually blinks an error code.
Every major brand uses a different blink pattern to signal what’s wrong. A LiftMaster blinks twice for sensor misalignment, four times for sensor obstruction, and five times for a motor overheat. A Genie blinks red for alignment issues and green for normal operation. If your opener works by the wall button but not the remote, or closes only when you hold the button down, the sensors are the usual culprit.
The sensor lenses get dirty faster in Sacramento than you’d think. Summer dust, winter moisture, and garage projects all leave residue on the lenses. Clean them monthly if your garage opens to a dirt driveway or a street with construction traffic.
A common symptom we see: the door closes fine, but won’t open without the wall button. Or the door opens, but reversing and refusing to close unless you hold the button down continuously. In both cases, the opener is reading a sensor fault and overriding normal operation as a safety precaution. The sensors may be physically aligned but dirty, or one may be failing internally.
One more thing to check: the wiring. The sensor wires run from the sensors up to the opener, and they’re low-voltage. A staple that’s worked loose, a wire that a mouse chewed through, or a connection that’s corroded can all produce intermittent faults. If the sensor lights flicker when you wiggle the wires, that’s your problem.
What to Have Ready Before You Call a Technician
When you call a garage door repair company, the person on the phone is trying to give you an accurate estimate. The more information you can provide, the more precise that estimate will be. Here’s what to have ready.
- Brand and model of the opener. The manufacturer’s name is printed on the motor housing. If you have a LiftMaster, Chamberlain, Genie, or Craftsman, say so. The model number is usually on a sticker on the side.
- Brand of the door, if visible. The manufacturer’s name is often stamped on the bottom panel or on the hinges. Wayne Dalton, Clopay, Amarr, Raynor – each uses different hardware and different replacement parts.
- Approximate age of the door and opener. Older than 15 years? Original springs? An older door with original springs often needs spring replacement, and the technician should know that before arriving.
- The exact symptom. Be specific: “door reverses halfway down” tells us more than “door doesn’t work.” Note when the symptom happens, whether it’s intermittent, and any sounds that accompany it.
- A photo or short video. A 10-second phone video of the door misbehaving saves a technician diagnostic time on arrival. Send it if you can.
- What you’ve already tried. If you’ve replaced the remote battery, cleaned the sensors, or checked the breaker, say so. It prevents us from repeating steps you’ve already done and speeds up the real diagnosis.
We service the brand you already own. That matters because a technician familiar with your specific opener – whether it’s a Wayne Dalton door with a Chamberlain opener or a Raynor door with a LiftMaster – diagnoses faster and fixes it right, the first time. No pressure to replace. No pushing toward a brand we happen to sell. Just the diagnosis and the repair.
Common Mistakes to Avoid
- Replacing the remote when the wall button is dead too. If neither works, the problem is the opener, not the remote. A new remote won’t fix a blown logic board or a tripped breaker. Test both before buying anything.
- Forcing the door open when the spring is broken. A door with a snapped torsion spring can weigh 150 to 200 pounds. Lifting it manually strains the opener and risks injury. If the door feels heavy or won’t stay up when released, the spring has failed. Call a professional.
- Over-lubricating with the wrong product. More oil is not better. Using WD-40, motor oil, or cooking spray on rollers and tracks attracts dirt and turns into grinding paste. A light silicone lubricant is the right product, applied sparingly.
- Ignoring a door that reverses every few cycles. Intermittent reversal often means a sensor is loose or failing. It works when conditions are perfect and fails when temperature or vibration shifts. Ignoring it means a door that suddenly won’t close at all – likely at night, likely full of your car.
- Tightening anything attached to the spring system. The torsion spring, its mounting hardware, and the cables are under several hundred pounds of tension. Even a small adjustment can release that energy violently. The red-painted hardware is not a DIY zone.
- Replacing the opener when the door hardware is the problem. A new opener won’t fix a door with worn rollers, a bent track, or binding hinges. If the door slides smoothly by hand, the opener may be fine. Diagnose before replacing.
- Waiting for a noisy door to quiet down on its own. Grinding, squealing, and rattling don’t self-correct. They get worse, and the repair gets more expensive. A roller that shreds and seizes can damage the track it runs on, turning a $30 part into a $300 repair.
See the difference
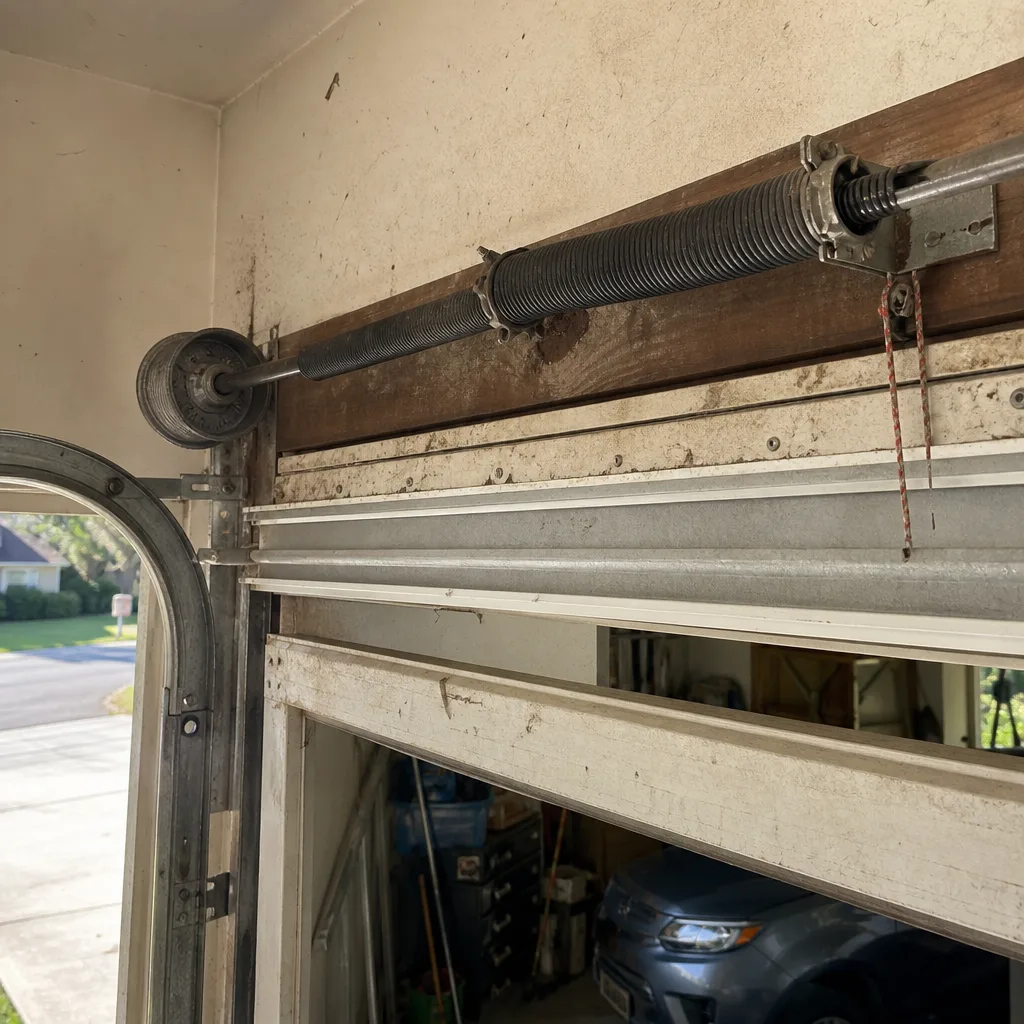 Before
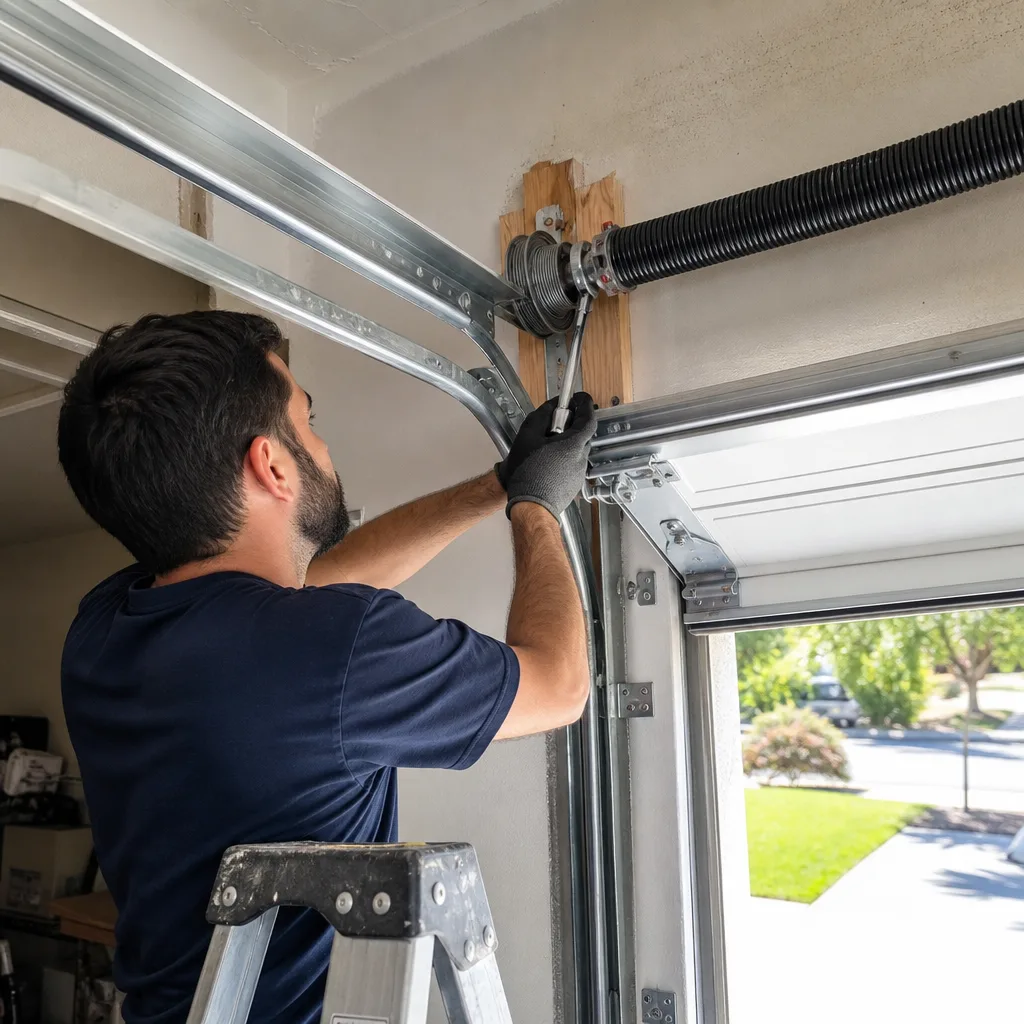 After
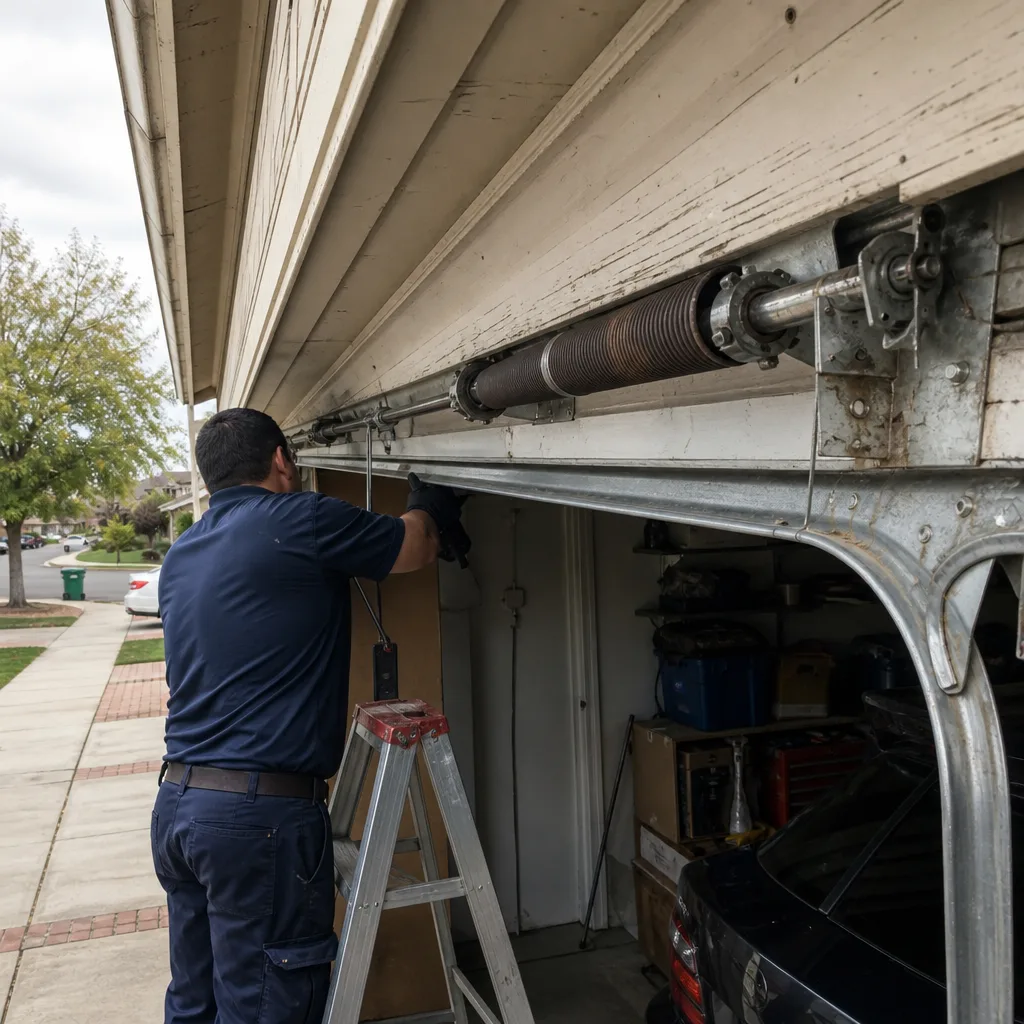 Before
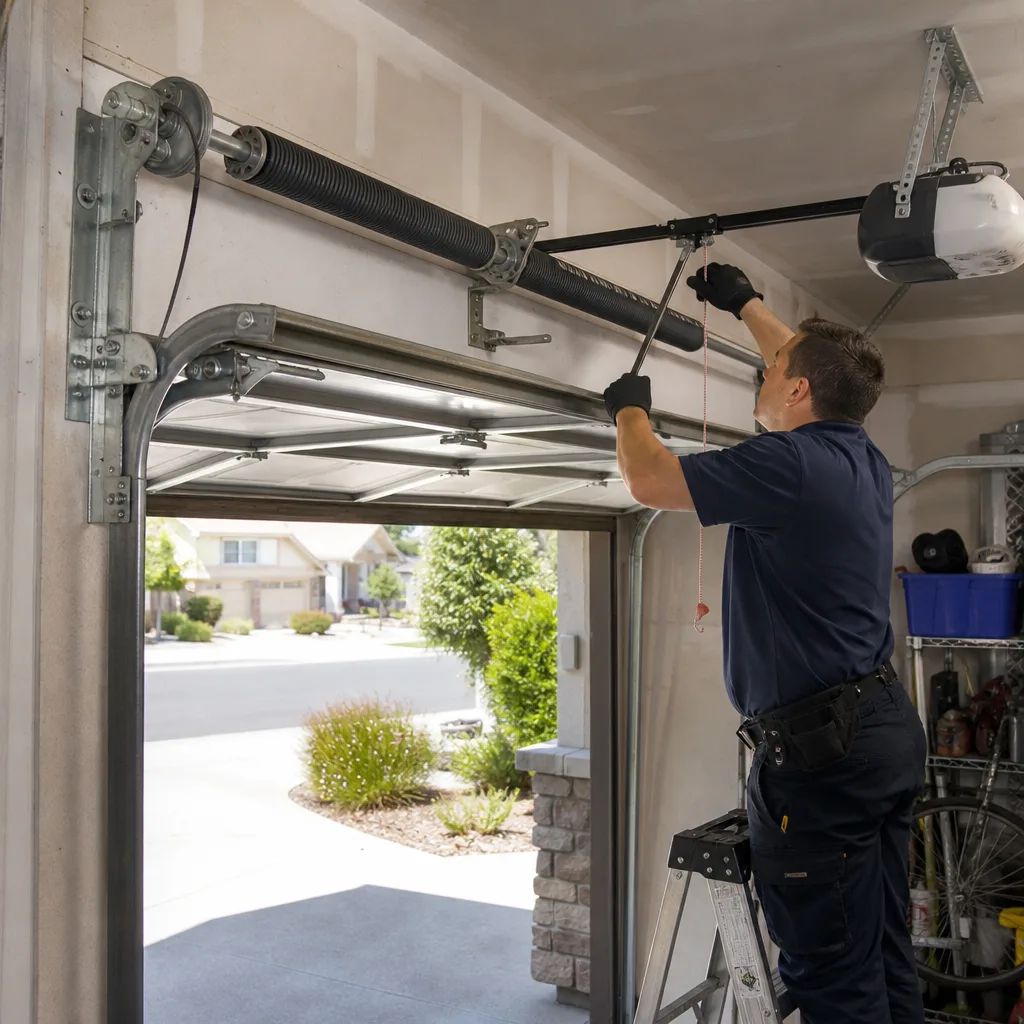 After
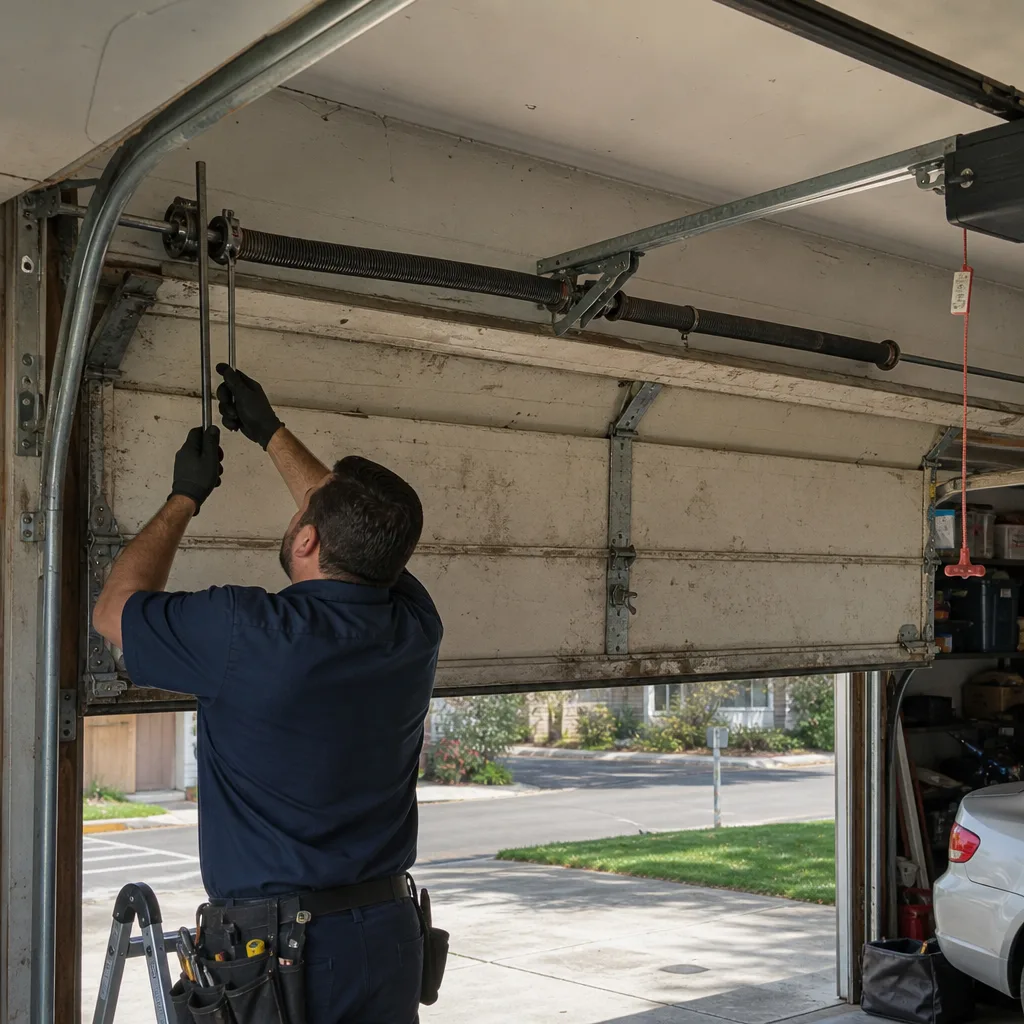 Before
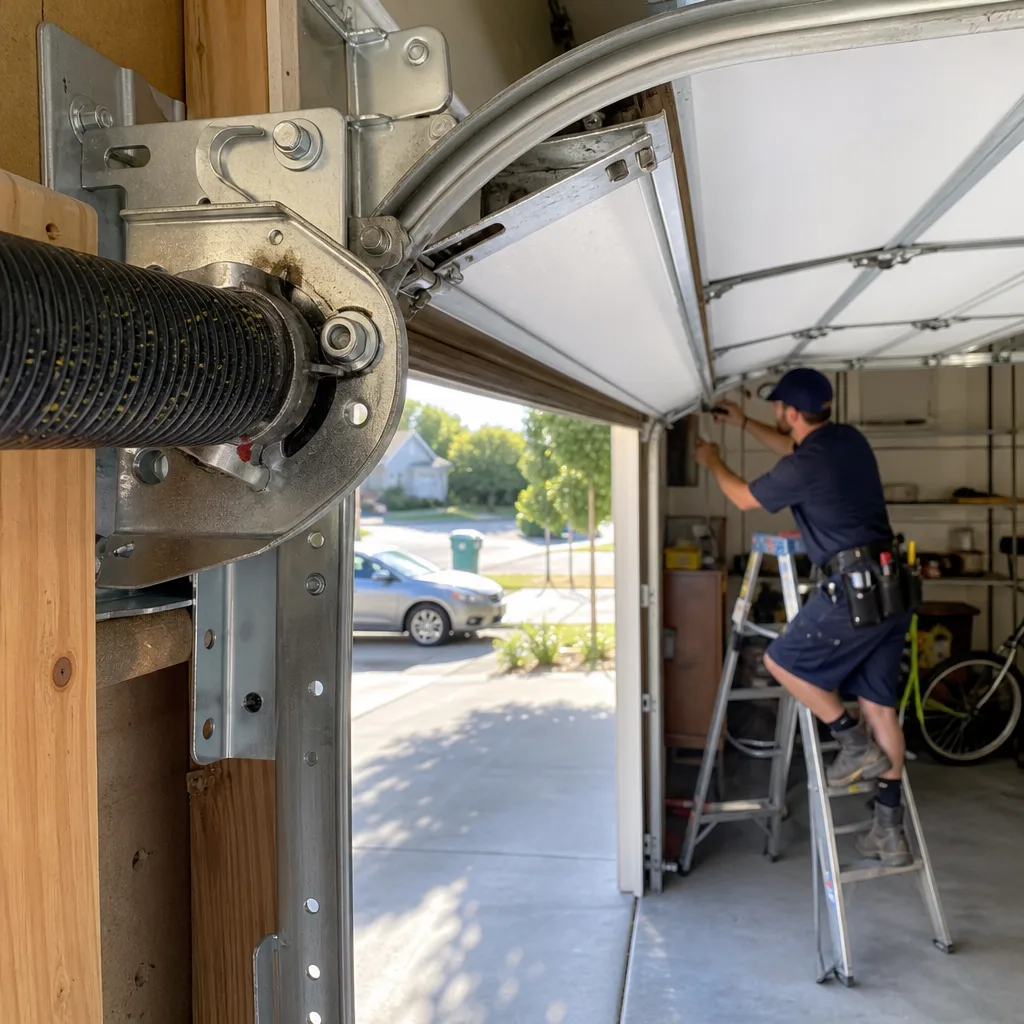 After
When to Call a Professional
Call a professional, as outlined in How to Hire a Garage Door Contractor in Sacramento: A Step-by-Step Guide, when the problem involves spring tension, cable replacement, track realignment, or any repair where the door is under load. These systems store enough energy to cause serious injury, and the tools and training required to service them safely are not common household equipment. Call when the opener’s logic board fails, when the motor is dying, or when you’ve done the simple checks and the symptom persists.
Call when you’re not sure which system is failing. A diagnostic visit is cheaper than replacing the wrong part. And call when the door is your only way into the garage – a door that fails with your car inside the garage is a security problem, not just an inconvenience.
Carlton Garage Door Repair offers free estimates in Sacramento. Call (833) 589-6808 and we’ll walk through what you’re seeing, give you a straight answer, and schedule a visit if you need one.
Frequently Asked Questions
Your garage door reverses before closing because the safety sensors detect an obstruction, are misaligned, or have dirty lenses, or because the opener’s close-force setting is too sensitive. Clean the sensors, confirm they’re pointed directly at each other, and test again. If the door still reverses, call (833) 589-6808 for a diagnosis – we’ll tell you over the phone whether it’s likely a sensor or a limit-switch issue, and estimates are free.
Garage door repair in Sacramento typically ranges from $120 to $450 depending on the part and the labor involved. A sensor replacement runs on the lower end, while a broken torsion spring or a cable replacement lands higher because of the tension involved and the safety procedures required. We quote the price before any work starts, so the number you hear on the phone is the number you’ll pay – not an estimate that doubles when the technician arrives.
No. Torsion springs and extension springs are under several hundred pounds of tension, and the energy stored in a wound spring can release violently if handled incorrectly. A spring that snaps or slips during an amateur repair causes serious injury. This is one repair where the safety risk is not worth the saved service call. A trained technician has the winding bars, the torque gauges, and the experience to replace a spring safely.
An intermittent opener usually means one of three things: a dying remote battery, a sensor that’s drifting in and out of alignment, or a loose wire connection. Replace the remote battery first – it’s the cheapest fix. If the problem continues, look at the sensor indicator lights while the door is acting up. A flickering sensor light points to a wiring issue or a failing sensor. For intermittent electronic problems that don’t trace back to those causes, have an opener-savvy technician check the logic board.
Garage door springs are rated for cycles – roughly 10,000 cycles for standard springs and up to 20,000 for higher-grade models. In Sacramento, where garage doors often serve as primary entry points and get cycled multiple times per day, a standard spring lasts 4 to 7 years in the average home. If your springs are more than 7 years old and the door has started feeling heavy or moving unevenly, the springs are nearing the end of their life.
We service the system you already have, regardless of brand. Our technicians work with door manufacturers including Wayne Dalton, Raynor, Clopay, and Amarr, and opener manufacturers including LiftMaster, Chamberlain, Genie, and Craftsman. That multi-brand fluency means we diagnose accurately and source the right parts without pushing you toward a replacement you don’t need. Call (833) 589-6808 and tell us what’s on your garage ceiling – we’ll tell you honestly whether it’s worth repairing.
The Bottom Line
Garage door troubleshooting is a process of elimination, not guesswork. Disconnect the opener and test the door manually to separate mechanical problems from electrical ones. Match the symptom to the system: reversing doors point to sensors or limits, sagging doors point to cables, noise points to rollers and tracks, and dead remotes point to the opener. Some tasks are safe for homeowners – cleaning sensors, replacing remote batteries, lubricating hinges – and we cover these in more guides & resources. Other tasks, everything involving springs and cables under tension, are firmly not. When you’re not sure, or when the simple fixes haven’t worked, a professional diagnostic beats replacing parts on a hunch. In Sacramento, that diagnostic is a phone call away, and it starts with a clear description of what the door is doing – and what you’ve already tried.
Written by the team at Carlton Garage Door Repair, serving Sacramento since 2012.