

Last updated October 31, 2026
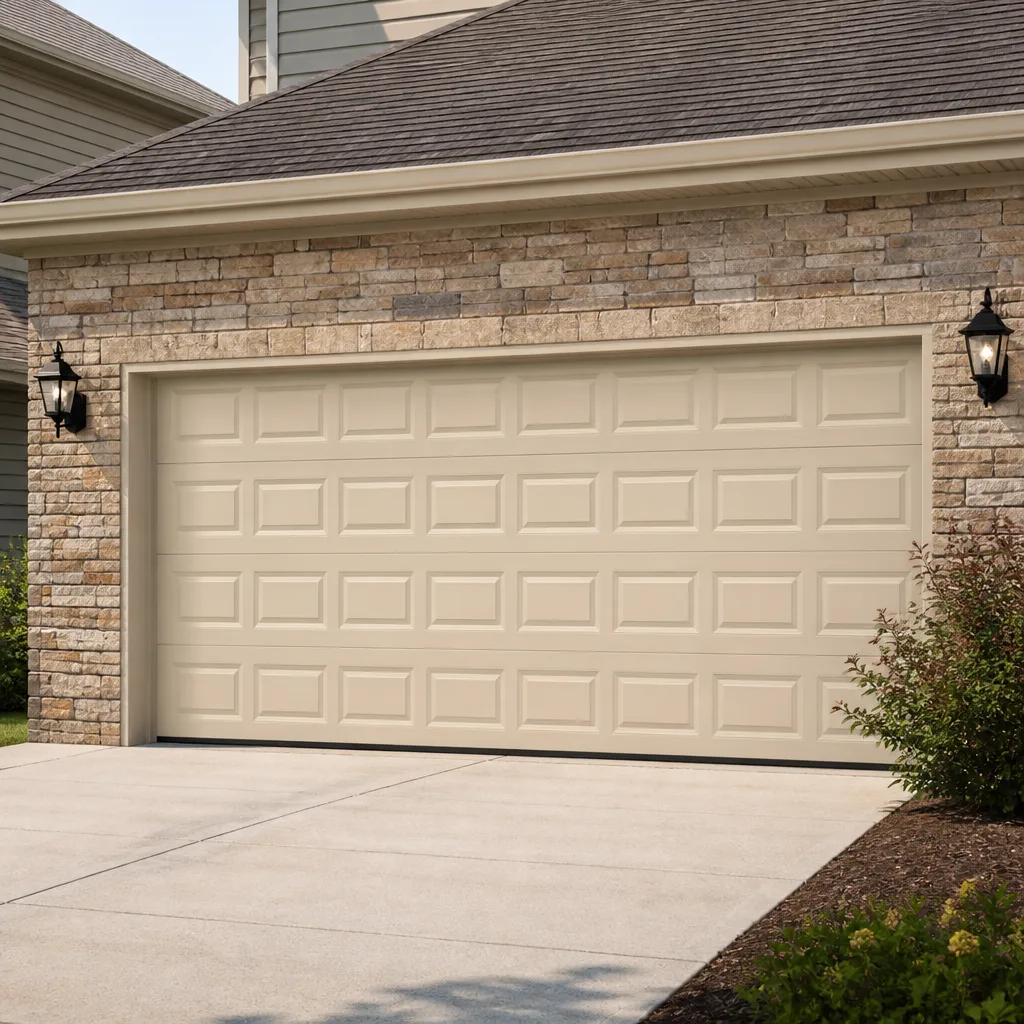 Raised-panel steel
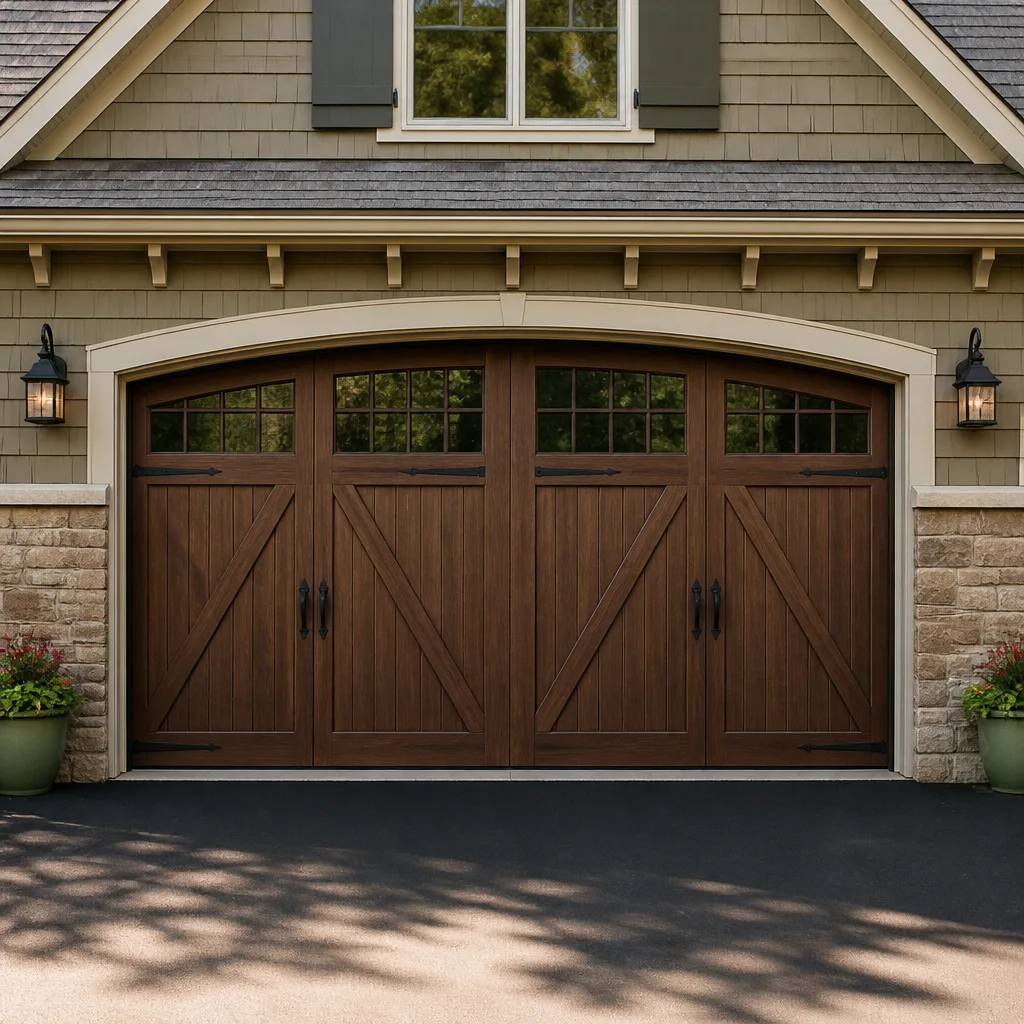 Carriage house
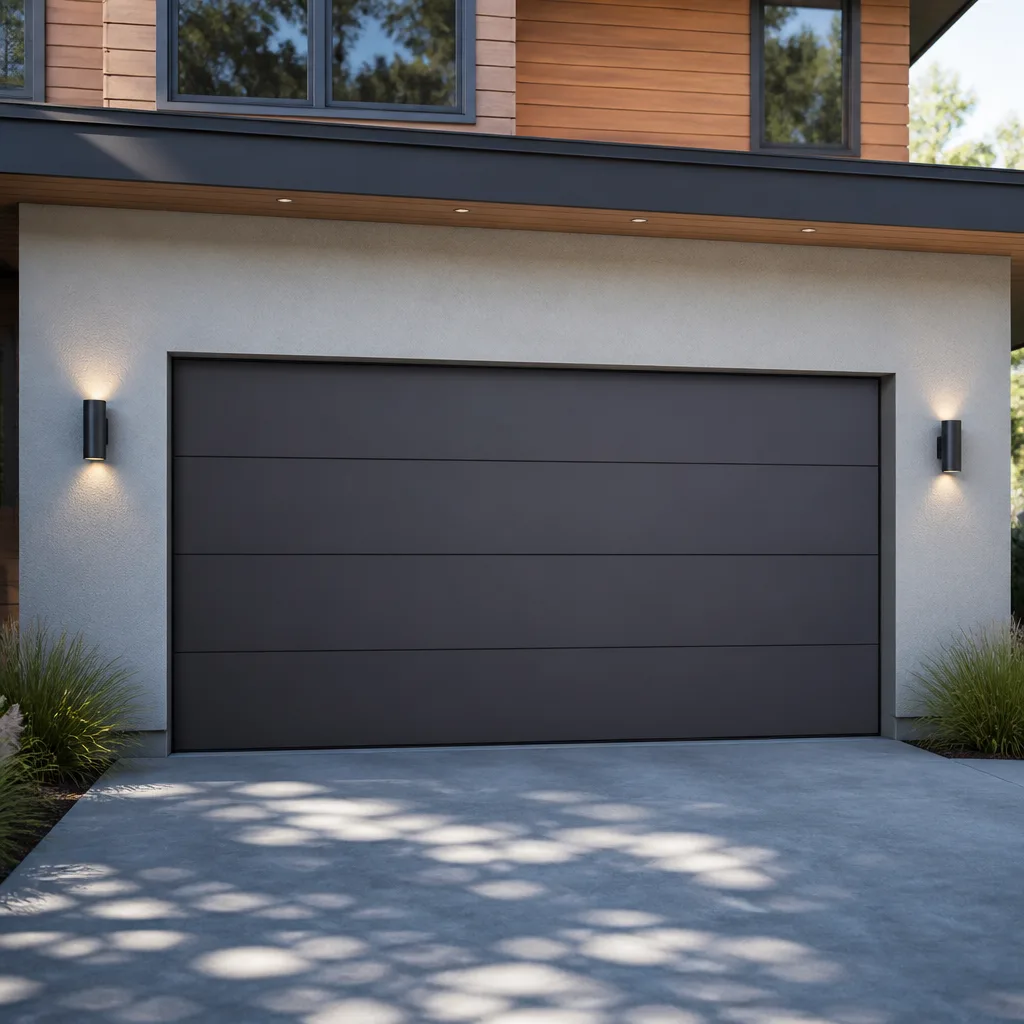 Modern flush
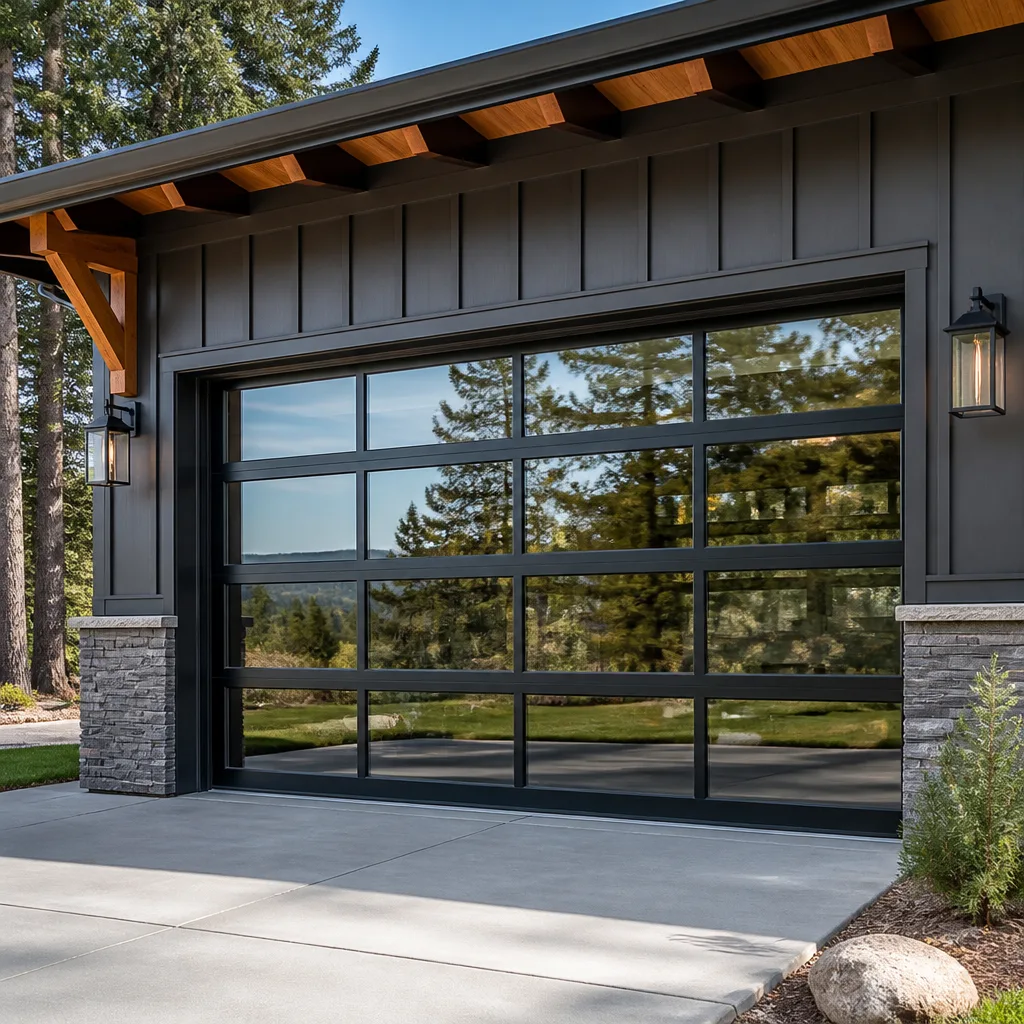 Full-view glass
 LiftMaster openers
 Chamberlain openers
Full 25-point door and opener safety check with every visit - springs, cables, rollers, tracks, and your LiftMaster or Chamberlain opener included
You get a price before we start. It does not change when the truck arrives.
Get your free estimateDIY vs Professional Garage Door: The Sacramento Homeowner’s Decision Guide
Here’s a pattern we see every week in Sacramento garages: a homeowner spends an entire Saturday fighting a torsion spring they should never have touched, then calls us Monday morning for a sensor alignment that would have taken them four minutes with a screwdriver. The DIY question isn’t really about how handy you are. It’s about knowing which garage door failures punish mistakes with a hospital visit or a $900 structural repair, and which ones punish you only with mild frustration. This guide sorts the two out, task by task, so you can keep both your hands and your checking account intact.
Quick Answer
Most garage door maintenance in Sacramento is safe to DIY: sensor cleaning, remote programming, lubrication, and weatherstripping replacement. But three specific components, torsion springs, lift cables, and opener gear assemblies, carry consequences serious enough that the labor cost of calling a professional in Sacramento is nearly always cheaper than the average cost of getting it wrong. Call a pro for those three, save your DIY energy for everything else, and you’ll come out ahead financially.
Styles & brands we work with
Table of Contents
- The Only Task Classification List That Matters
- Safe to DIY: Four Tasks You Should Stop Paying For
- DIY with Caution: Two Tasks That Require Specific Tools
- Never DIY: Three Components That Injure and Break Things
- What DIY Mistakes Actually Cost in Sacramento
- Parts Access in Sacramento: Home Depot vs. Distributor Reality
- How to Use a Professional Visit Strategically
- Common Mistakes to Avoid
The Only Task Classification List That Matters
Before we get into explanations, here’s the full classification. This is the reference list we developed from watching Sacramento homeowners make both kinds of errors: the overconfident DIYer who attempts a torsion spring and the overcautious homeowner who pays a service call fee for something a six-year-old could do. If you remember nothing else from this guide, this list is enough.
Safe to DIY (no special tools, low consequence of error)
- Sensor cleaning and alignment: Wipe the lens, adjust the bracket. Worst case: the door won’t close and you call someone.
- Remote programming and keypad setup: Follow the manual or look up the model-specific sequence. Worst case: it doesn’t pair and you try again.
- Bottom seal and weatherstripping replacement: Slide out the old, slide in the new. It’s a $15 part and 20 minutes in a Sacramento garage.
- Track lubrication: White lithium grease on rollers and hinges. You literally cannot damage the system doing this.
DIY with Caution (specific tools, moderate consequence of error)
- Opener limit switch adjustment: You need to understand how the travel limits work on your specific opener model. Getting it wrong means the door reverses at the wrong point, and that’s annoying rather than dangerous. But we’ve seen homeowners strip the adjustment screws on older Craftsman and Chamberlain units by cranking past the stop.
- Roller replacement on standard radius track: The top and bottom rollers carry cable tension and the bottom bracket is under spring load. Most rollers are safe, but if you don’t know which ones are load-bearing, you can create a cable snap scenario. We’ll explain more below.
Never DIY (high-consequence components)
- Torsion spring replacement and adjustment.
- Lift cable replacement or re-winding.
- Opener gear and sprocket assembly replacement.
That’s the whole map. The rest of this guide explains the mechanical reasoning behind each category, because understanding why something is dangerous or safe is what lets you make good judgment calls when your specific situation doesn’t match a list exactly.
Safe to DIY: Four Tasks You Should Stop Paying For
We want to start with the tasks Sacramento homeowners routinely overpay for, because this is where the money leaks. A service call in Sacramento runs anywhere from $65 to $125 just to get a technician to your door, and that’s before the actual repair. Spending that on a task that requires no specialized knowledge or tools is the garage door equivalent of paying someone to change a light bulb.
1. Sensor Alignment and Cleaning
The photo eyes at the bottom of your door tracks have one job: detect anything in the door’s path and reverse the motor. They fail for exactly two reasons in our experience. Dirt accumulates on the lens, or a broom, bike, or box bumps the bracket just enough to throw the two beams out of alignment. When that happens, the opener blinks and the door won’t close. The fix is a damp cloth and a gentle re-aim until the indicator light on each sensor glows steady.
This is a sub-five-minute task with zero risk. You cannot hurt yourself, the door, or the sensors. And yet it’s one of the most common reasons we get residential calls in Sacramento. If you know how to check that both sensor lights are solid before calling, you’ll save yourself a service fee roughly 8 times out of 10 when the symptom is “door won’t close but opener runs fine.”
2. Remote and Keypad Programming
Every LiftMaster, Chamberlain, Genie, and Craftsman opener made in the last 25 years has a “learn” or “smart” button on the motor unit. Pairing a new remote is a matter of pressing that button and then pressing the remote. Keypads are only slightly more involved. The sequences are model-specific, but they’re in your manual, and if your manual is long gone, the sequence for your exact model is a two-minute search away.
We mention this because we’ve seen Sacramento homeowners pay $80 to $120 for a “new remote programmed and synced” service call when the remote itself was never broken. The battery died, or the keypad code was wiped during a power surge in one of the Valley’s summer brownouts. Before you call anyone, put a fresh battery in the remote and re-pair it. If it still won’t sync, then you may have a receiver board issue, and that’s a professional-level repair on your Garage Door Opener Repair in Sacramento service.
3. Bottom Seal Replacement
The rubber strip along the bottom of your garage door rots, cracks, and flattens. This is universal in Sacramento, where summer heat in neighborhoods like Natomas and Elk Grove bakes the rubber until it loses its flex. The replacement is a U-shaped vinyl or rubber strip that slides into the retainer channel on the bottom of the door. You pull the old one out, spray a little silicone lube into the channel, and slide the new one through.
It’s a $12 to $18 part at any hardware store in Sacramento. It takes 20 minutes. The only trick is that the very last section sometimes needs a little soap or lubricant to slide through the channel, and some doors have end caps that need a Torx bit to remove. None of it is hard. You’re not risking the door’s balance or structural integrity. Yet this is another one of those tasks where we get called out and the homeowner’s face falls when they see how simple the fix was.
4. Basic Lubrication
Garage doors in the Sacramento Valley are noisy. Dry summers, dust from the foothills, and winter temperature swings all work against metal-on-metal components. Lubrication quiets the system and extends the life of the rollers and hinges. White lithium grease on the hinge pins, spray silicone on the rollers (or a few drops of motor oil on older metal rollers), and a light coat on the torsion spring coil. Do this twice a year.
The entire job is five minutes of work with a $7 can of lubricant. You cannot damage anything by lubricating correctly. About the only mistake is using WD-40, which is a solvent and not a durable lubricant, or spraying so much grease that it drips onto the drive belt and causes slippage. Even those mistakes are cosmetic. This is not a task worth hiring out.
DIY with Caution: Two Tasks That Require Specific Tools
These are the judgment-call tasks. They’re not automatically dangerous, but they’re also not the no-consequence tasks in the section above. You need to understand what you’re touching and why it matters before you start.
1. Opener Limit Switch Adjustment
Your opener’s travel limits control where the door stops on the way up and on the way down. When they drift out of adjustment, either from vibration or from a power surge in one of Sacramento’s frequent autumn wind events, the door stops short of fully open or thumps down too hard against the ground. Adjusting the limits is a legitimate DIY task, but it requires reading your specific opener’s manual.
Older Chamberlain and Craftsman units use physical screws you turn with a flathead. Newer LiftMaster models with belt drives use an app or a control panel interface. The risk is not injury. The risk is setting the down limit too far and forcing the door into the slab, which can strip the plastic gears inside the opener motor head. We’ve replaced gears in every part of Sacramento because a homeowner cranked the limit screw three turns past where it should have stopped.
If you understand what the limit controls and you’re methodical, go ahead. If you’re guessing, stop and call someone before you turn a $15 adjustment into a $220 gear replacement.
2. Roller Replacement on Standard Track
Most rollers on a sectional garage door pop out of their brackets and pop right back in. It’s a simple job: bend the track slightly with pliers, pull the old roller, insert the new one, bend the track back. The danger is that two rollers are not like the others. The bottom roller brackets carry cable tension through the track, and the top brackets connect to the torsion system on some door designs.
If you remove the bottom roller on a door with a torsion spring and the cable comes off the drum, the spring’s stored energy is now pulling on a cable that has a loose end. That cable can whip, and the door can drop unevenly. We’ve helped homeowners in Midtown and Land Park repair garage doors after they made this exact mistake. The safe version of this job is to replace only the middle rollers, never the top or bottom ones, unless you’ve confirmed your specific door design carries no cable tension on those brackets. If you’re not sure, that’s a conversation to have with a technician before you touch anything.
Never DIY: Three Components That Injure and Break Things
This is the section where we stop being gentle about it. These three components are genuinely dangerous, and the pattern we see in Sacramento is that homeowners underestimate the first one and underestimate the consequences of the second one.
1. Torsion Spring Replacement
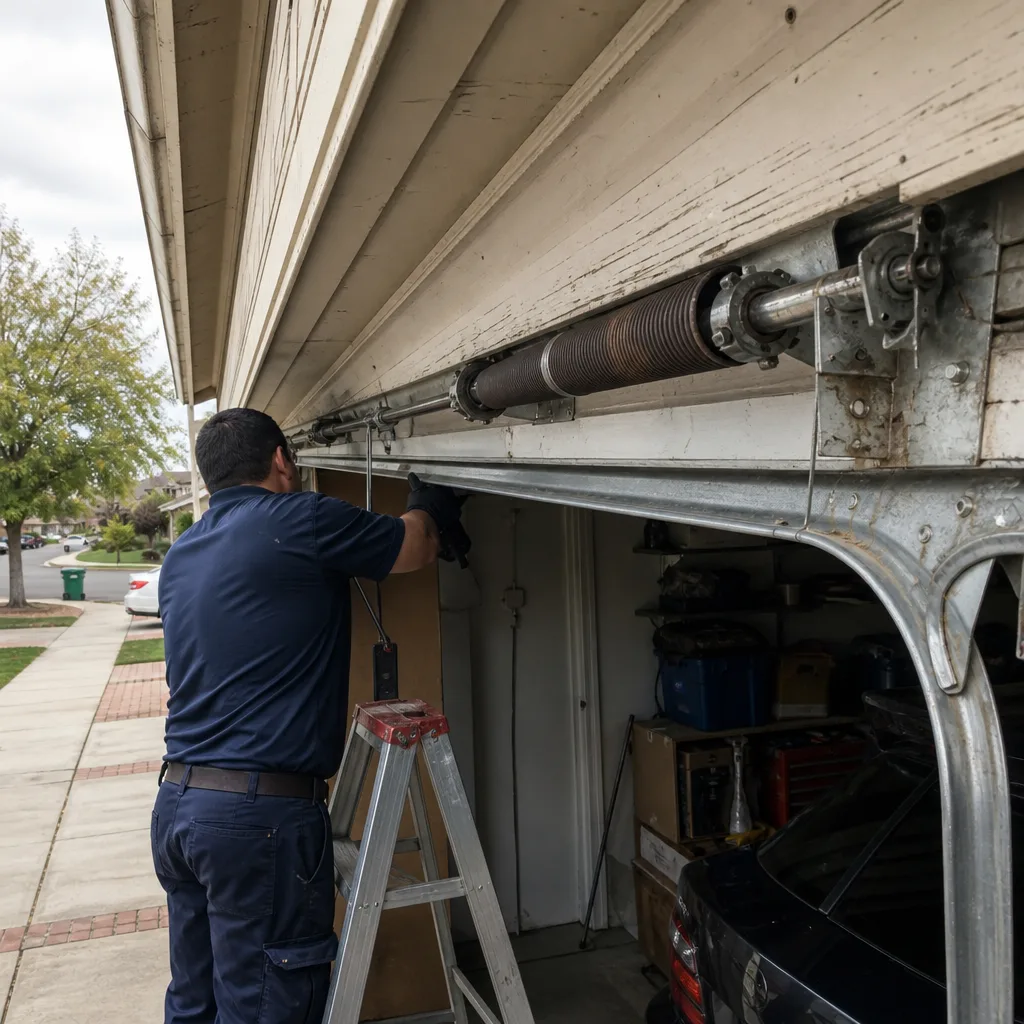
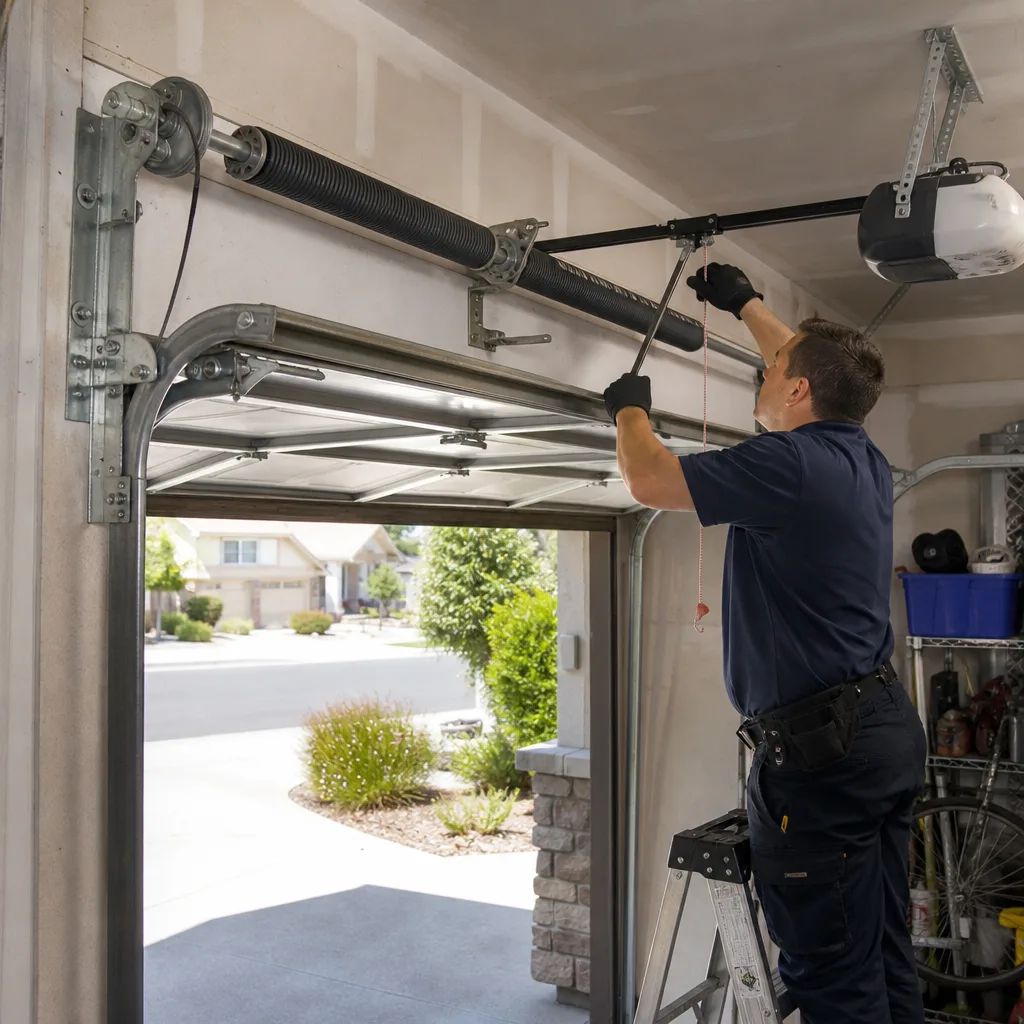
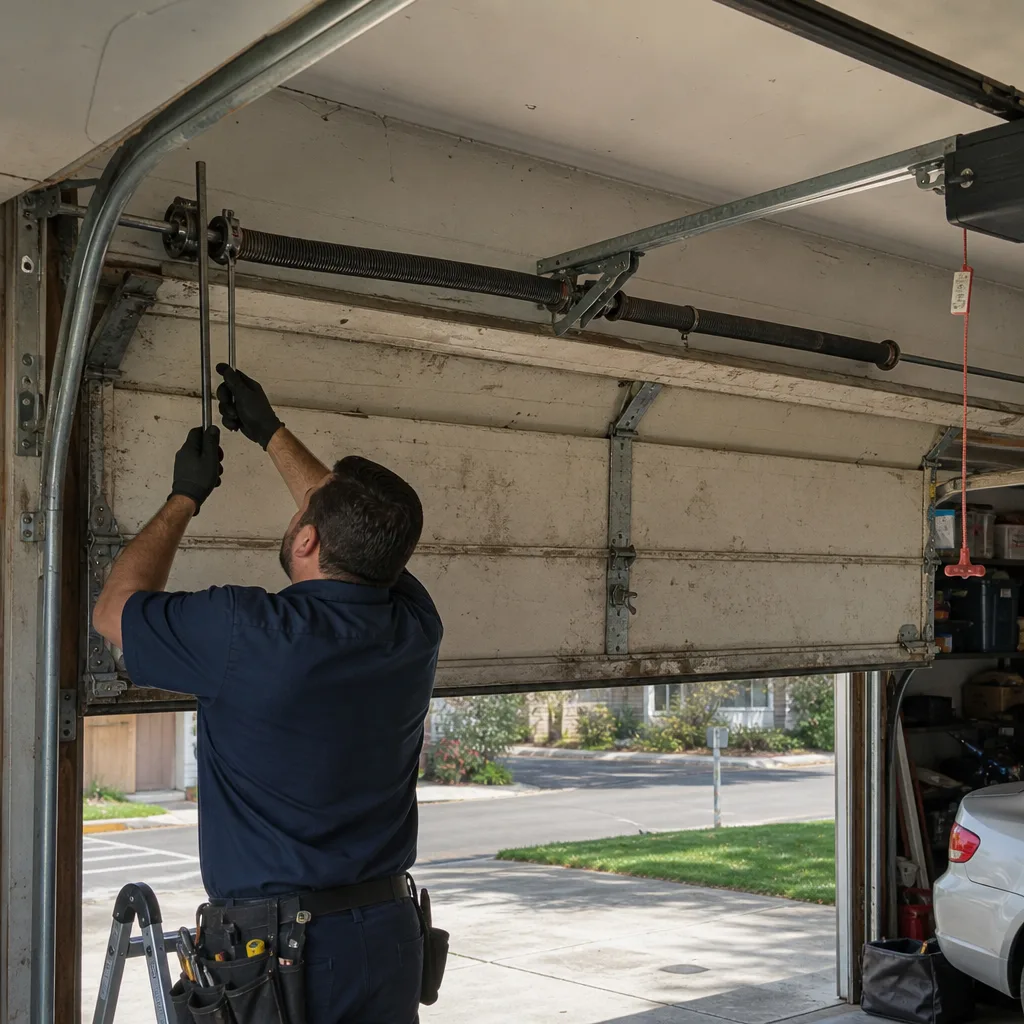
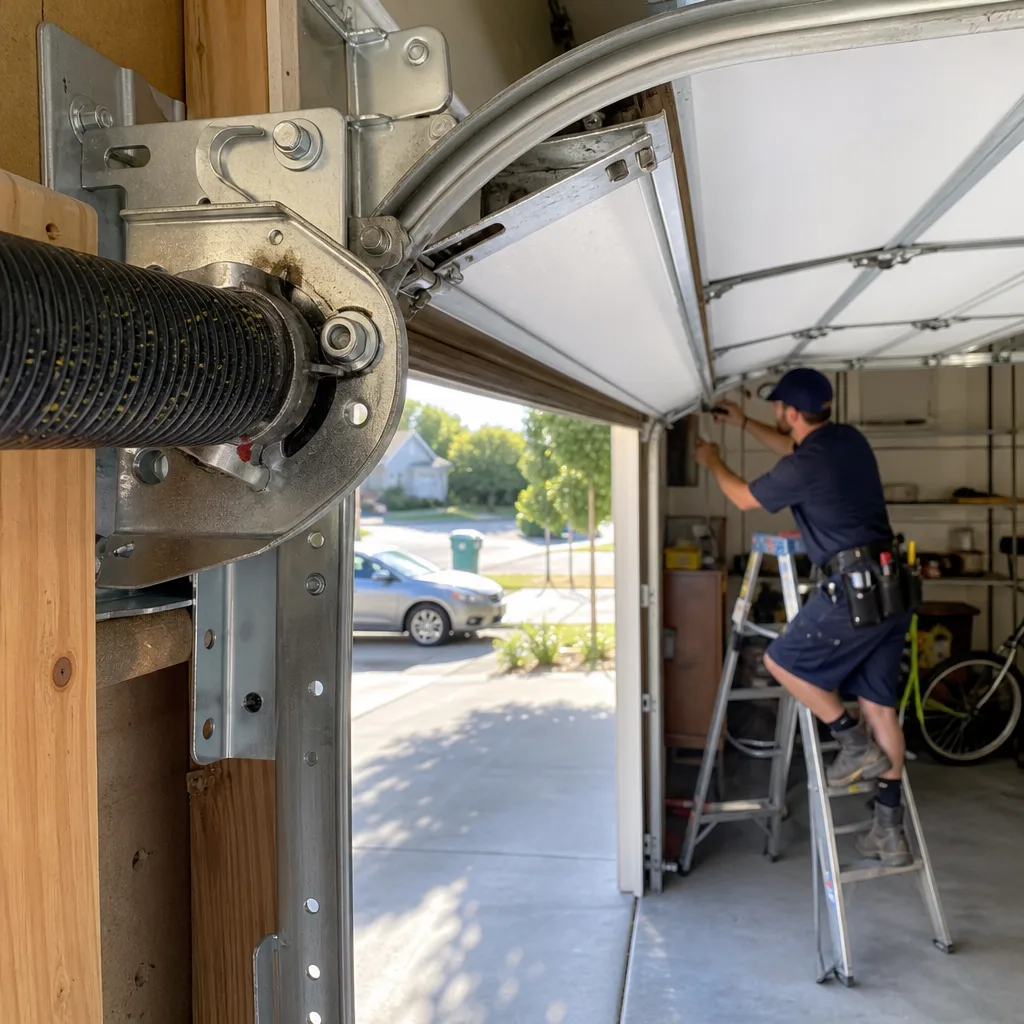
A torsion spring on a double-wide garage door is under 150 to 250 pounds of torque when the door is down. When you wind or unwind that spring, you’re working against that force with a pair of steel winding bars. If a bar slips, or the spring snaps, or you lose your grip, the bar becomes a projectile moving with enough force to break bone. Emergency rooms treat torsion spring injuries every year: lacerations, fractures, and worse. This is the single most dangerous component in a residential garage, and Sacramento homes with double doors in areas like Folsom and Roseville often have two springs, which doubles the stored energy and the risk.
The tools alone cost more than the service. A set of proper winding bars runs $30 to $50, and you need them in exactly the right diameter for your spring cone. Then there’s the question of whether you’re matching the wire gauge and spring rate correctly. A spring that’s too strong or too weak throws off the door’s balance, which wears out the opener motor, accelerates roller wear, and can snap lift cables under the uneven load. We regularly replace DIY-installed springs in the Sacramento area that were wrong from the first day. The $200 to $350 a professional charges for a spring replacement is cheap compared to the hospital visit, the new spring you bought that was the wrong size, and the opener motor you’ll be replacing a year later.
2. Lift Cable Replacement and Re-Winding
Lift cables work in pairs. They run from the bottom of the door, up the sides, and wrap around the drums above the door on the torsion shaft. When the door goes up, the cables wind onto the drum. When it goes down, they unwind. The cables carry the door’s weight through the torsion system, so a cable under load is a cable you don’t want to touch with your bare hands.
The problem with DIY cable work isn’t the risk of the cable whipping you, although that can happen. It’s the risk of getting it wrong in a way that doesn’t reveal itself immediately. If you re-wind a cable with uneven tension between the two sides, the door rides up the track at an angle. That stress then concentrates on the torsion spring, the roller brackets, and the opener’s rail. We’ve seen doors in Sacramento where an incorrectly re-wound cable bent the vertical track so badly the entire track needed replacement. That’s a $400 to $600 repair instead of a $150 to $250 cable service. The structural damage from a botched cable job is often invisible until the door chews itself apart over a few weeks, which makes it worse than the immediate failure because you blame the door when the real problem was the repair.
3. Opener Gear and Sprocket Assembly Replacement
Chain-drive openers from Chamberlain, Craftsman, and several other brands use a plastic gear assembly inside the motor head. These gears wear down over time, and when they strip, the motor runs but the door doesn’t move. Replacing the gear requires opening the motor housing, removing the sprocket, swapping the gear, and re-timing the limit switch assembly. It’s not as dangerous as a torsion spring, but it’s the task most likely to end with a dead opener and a trip to the store for a new unit.
The issue is that the plastic gears are sacrificial. They’re designed to fail before the motor does. If you replace just the gear without addressing what caused it to strip, which is often a door that’s out of balance and making the opener work too hard, then your new gear strips out in a few months. A professional diagnoses the whole system. A DIY gear swap treats the symptom. If your door is properly balanced and lubricated, the gear typically lasts a decade or more. If it stripped early, something else is wrong, and that something else is the real repair.
What DIY Mistakes Actually Cost in Sacramento
Let’s talk numbers, because the “DIY saves money” argument falls apart quickly when you look at what mistakes cost in this specific market.
Sacramento emergency room visits for non-fatal injuries run wide ranges depending on your insurance, but the typical out-of-pocket cost for a fracture or laceration that needs stitches is in the $1,500 to $4,000 range even with decent coverage. A torsion spring replacement by a Sacramento professional runs $200 to $350, and that includes the part. You don’t need to be an actuary to see the expected value of that decision. We haven’t even mentioned the worst cases, which do happen and which don’t show up on a spreadsheet.
On the structural side, a lift cable re-wound incorrectly will eventually bend a track or snap a cable mid-cycle. Replacing a bent vertical track in Sacramento runs $250 to $400 on top of the cable repair. If the door drops while the cable fails, you can add panel damage. One dented panel on a standard steel door is $250 to $500, and if it’s an older door from a brand like Raynor or Wayne Dalton that’s been discontinued, you might be looking at replacing the entire door because matching panels aren’t manufactured anymore.
The DIY tasks worth doing, the four in our “safe” list, cost zero dollars in professional labor and have zero realistic downside. The DIY tasks that go wrong, the three in our “never” list, average several times more expensive in failure costs than the professional service would have cost in the first place. The math only works in your favor if you’re accurate about which list you’re looking at.
Parts Access in Sacramento: Home Depot vs. Distributor Reality
Here’s a practical constraint that most DIY guides skip: you can’t actually buy the right parts for most garage door repairs at a retail store in Sacramento.
Home Depot and Lowe’s in Sacramento stock a narrow selection of garage door parts: universal remotes, some sensors, basic rollers, weatherstripping, and sometimes a limited range of springs. What they don’t stock: torsion springs matched to your door’s specific weight and height, brand-specific opener gears for Chamberlain, LiftMaster, or Genie units, and cable drums for specific shaft diameters. Those parts come from garage door distributors, and distributors sell to licensed repair companies, not to retail customers.
We have distributor accounts that give us same-day access to parts across Sacramento, from the Arden-Arcade area to Rancho Cordova. When a homeowner needs a specific spring for a 16×7 Clopay door with a 0.225 wire gauge, we can get it in hours. A homeowner trying to buy that same spring will find that the internet sells “universal” springs that are often the wrong size, and the springs at the hardware store are sized for the most common single-car doors, which won’t work on a double-wide. Buying the wrong spring isn’t just a money problem. It’s the reason we see DIY springs that are either under-wound, which snaps cables, or over-wound, which burns out opener motors.
The same goes for opener parts. If your LiftMaster chain-drive opener stripped a gear, the exact replacement gear assembly for your model is a distributor-only part. The universal gear kits sold online work sometimes and fail sometimes. We’ve installed the universal ones when customers brought them in, and our honest assessment is that they work about 60% of the time for more than six months. The other 40% get replaced with the correct OEM part within a year. That’s not a gamble we’d take with our own garage.
How to Use a Professional Visit Strategically
This is the approach we recommend to homeowners in Sacramento who want to minimize professional labor costs while maximizing the life of their door. It’s not an either-or decision. It’s a division of labor.
Here’s the strategy: when you call a technician for one of the high-consequence tasks, whether it’s a torsion spring replacement, a cable repair, or an opener gear swap, use the visit to extract value you can’t get from a YouTube video. Ask the technician to walk you through the low-risk maintenance items while they’re there. Most technicians are happy to show you how to clean sensors, where to lubricate, and how to check the door balance. You’re paying for the expertise already. Getting the education at the same time costs you nothing extra.
Here’s a concrete example of how this works. Let’s say your torsion spring breaks. That’s a professional call, no question. But while the technician is there replacing the spring, you ask them to check your cable condition, because cables wear alongside springs and a professional can tell you if yours are near failure. You ask them to check the balance after the new spring is installed. You ask them to point out exactly which rollers are load-bearing so you know which ones you can replace yourself next time. One service call, three or four pieces of information you can act on for years.
We’ve also seen smart Sacramento homeowners schedule a maintenance check in the same appointment as a repair. Replacing a spring and having the tech lubricate hinges and adjust the opener limits while everything is already open and accessible is normal practice. You’re not paying twice for the trip charge. The incremental labor is minimal. This is how you get professional-level care for the critical components and DIY-level savings on everything else.
Common Mistakes to Avoid
- Attempting a torsion spring because “it looks simple” on video: The video doesn’t show the force involved. Winding a spring requires understanding bar placement, spring rate, and the exact number of quarter-turns for your door weight. The video also doesn’t show what a slip looks like. We’ve had customers in Sacramento who got the spring wound but cracked their garage ceiling when a bar slipped and hit drywall.
- Using WD-40 on hinges and rollers: WD-40 is a water displacer and light penetrant, not a lubricant. It cleans but doesn’t leave a protective film. In Sacramento’s dry climate, components need actual lubrication. White lithium grease for hinges and a silicone spray for rollers and springs.
- Buying “universal” springs online: Door weight and spring rate are matched. A spring that’s wrong by even one wire gauge changes the balance enough to cause problems within months. Universal springs are a guess, and guesses on high-tension components are how structural damage happens.
- Ignoring an unbalanced door: If you disconnect the opener and the door doesn’t stay put at half-height, the springs are wrong or worn. Continuing to operate the door with the opener forces the motor to work against gravity every cycle. In Sacramento’s newer communities like Natomas, we see opener motors burn out in three to five years on unbalanced doors that should have lasted ten.
- Fixing the symptom and ignoring the cause: A stripped opener gear, a snapped cable, a broken spring. All three are frequently caused by something upstream: an unbalanced door, a lack of lubrication, or a spring that’s lost tension. Replacing the broken part without finding the cause means doing the same repair again in a year or two.
- Assuming all garage door parts are interchangeable: A Chamberlain gear assembly doesn’t fit a LiftMaster motor, even though the same parent company makes both. A Raynor door spring is sized differently from a Clopay spring. Sacramento homes have every brand under the sun installed, and part matching requires knowing the door and opener model, not just the symptoms.
When to Call a Professional
Call a professional when the door’s balance is off, when a spring or cable is broken or visibly frayed, when the opener motor runs but the door doesn’t move, or when you hear grinding, popping, or slamming sounds during operation. These are symptoms of high-consequence components under stress, and every day you delay adds wear to the surrounding parts. Also call when you don’t know which component is failing. Diagnosis is part of the service, and an experienced technician can identify a $150 cable issue before it becomes a $700 track and panel repair. If you’re in Sacramento and you’re not sure what you’re looking at, call us before you touch anything. Carlton Garage Door Repair offers free estimates in Sacramento, call (833) 589-6808, and we’ll tell you honestly whether it’s a task you can handle yourself or one you should leave to us.
Frequently Asked Questions
Spring replacement in Sacramento typically runs $200 to $350 for a single torsion spring on a standard single-car door, and $300 to $500 for a pair on a double-wide, including parts and labor. Prices vary by door weight, spring type, and access to the garage ceiling. Get a quote before agreeing to any work, and make sure the price includes balancing the door after installation. Call (833) 589-6808 for an exact quote for your door, estimates are free.
No, torsion spring replacement requires specialized winding bars, precise knowledge of spring rate and required turns, and experience managing 150 to 250 pounds of stored torque. The consequence of a mistake is serious injury or damage to the door, and the tools alone cost a meaningful percentage of the professional service. Torsion springs are the one component we consistently tell Sacramento homeowners to never touch. Call Carlton Garage Door Repair home for spring service instead.
Sensor alignment, remote and keypad programming, bottom seal replacement, and basic lubrication are all safe DIY tasks with no special tools and no meaningful consequence of error. These four tasks cover most of the minor maintenance a garage door needs between professional services. They’re also the tasks that homeowners most often pay a service call fee for unnecessarily.
That depends on the failure. If the motor itself is dead, replacement is usually the better call, since a new opener with modern safety features starts around $350 installed. If the opener motor runs but the door doesn’t move, you’re often looking at a stripped gear or broken sprocket, which is a repairable part for a fraction of the replacement cost. Our Garage Door Opener Repair in Sacramento service diagnoses the difference before recommending anything, and we service the brand you already own, Chamberlain, LiftMaster, Genie, Craftsman, rather than pushing an unnecessary replacement.
Every 12 to 18 months for most Sacramento homes, with twice-yearly self-lubrication in between. The Valley’s dry heat accelerates roller and hinge wear, and winter temperature swings can loosen hardware. An annual check of spring tension, cable condition, and opener force settings catches small problems before they become major repairs. If your door is heavy, noisy, or uneven when opening, don’t wait for the annual interval.
A loud garage door in Sacramento is usually dry metal-on-metal contact in the rollers, hinges, and spring. Lubricating with white lithium grease on hinges and silicone spray on rollers and springs will quiet most doors within a day. If lubrication doesn’t help, or the noise is a grinding or popping sound rather than a general rumble, you likely have a bearing or roller failure, which is a repair call. Most noise complaints we see are solved by the lubrication step.
See the difference
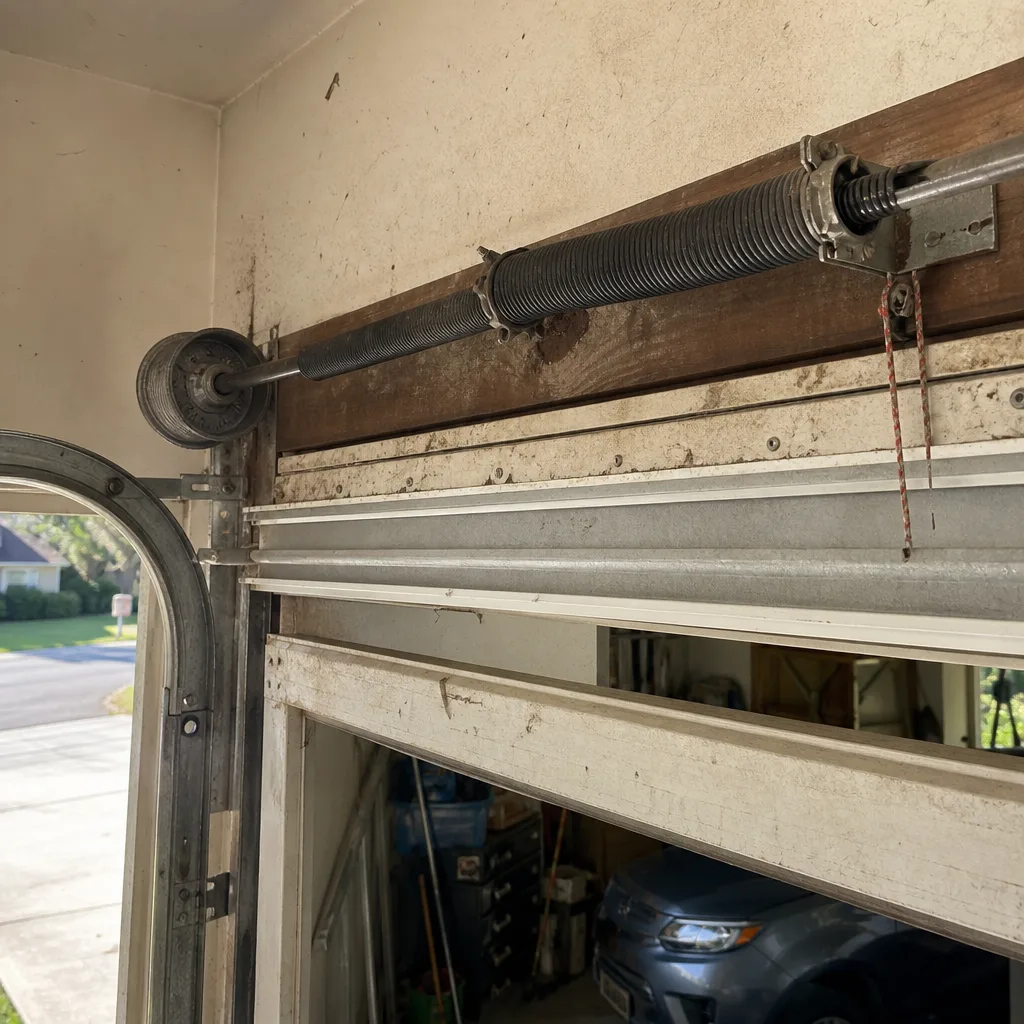 Before
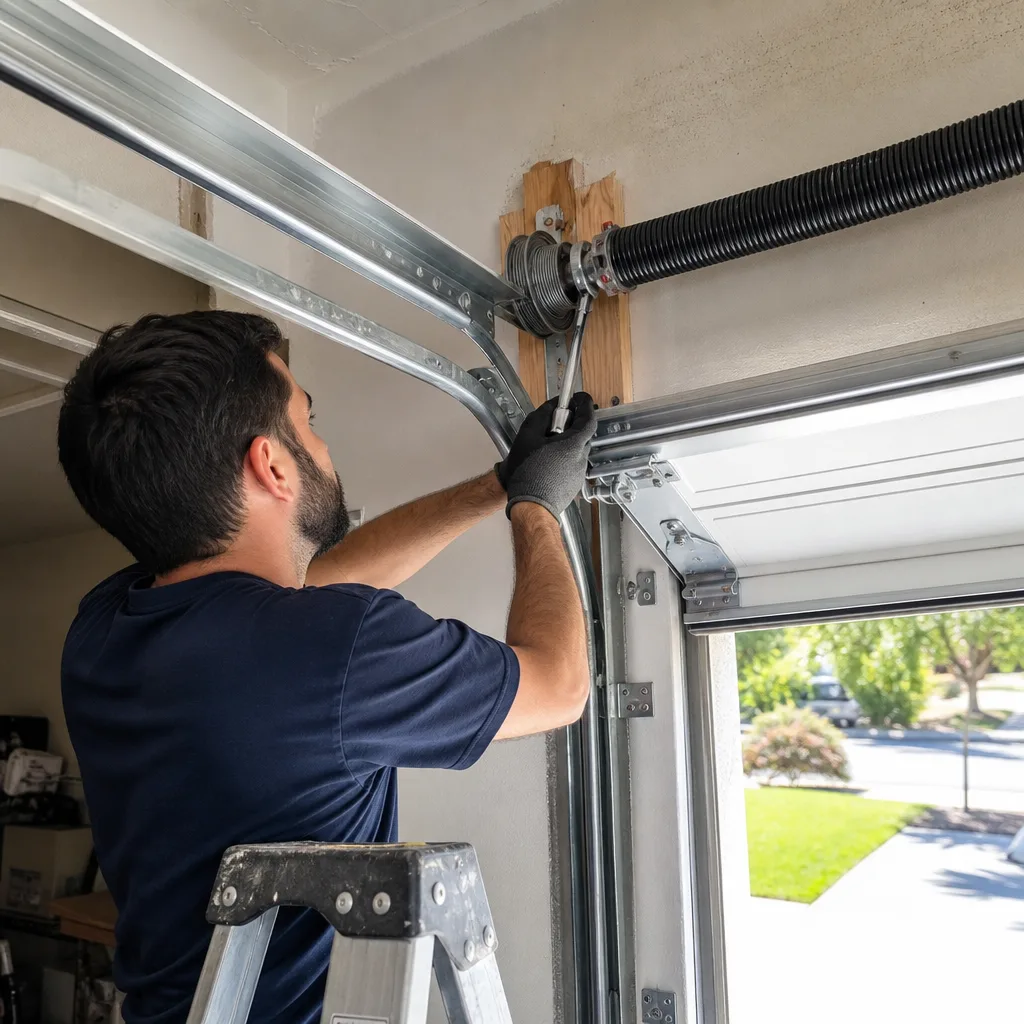 After
 Before
 After
 Before
 After
Common Mistakes to Avoid
The mistakes above are the ones we see most often in Sacramento specifically. Home Depot runs on torsion springs, thinking any weatherstrip fits any door, judging a door’s health by whether it goes up and down, and waiting until the door won’t open to call about a noise that’s been present for months. The common thread is that homeowners judge garage door health by function alone, and function is the last thing to fail. Noise, balance, and visible wear are the early warning signs, and they’re all observable before the door stops working.
The Bottom Line
The DIY vs. professional question for garage doors is a matching exercise. Match the task to the consequence of getting it wrong. Four tasks are clearly safe to do yourself and you’re leaving money on the table every time you hire them out. Three components are clearly dangerous or structurally consequential, and the professional service fee is cheaper than the average cost of a mistake. For everything in between, use your judgment, and use your professional visits strategically by extracting maintenance knowledge alongside the repair. Do that, and a Sacramento garage door will cost you very little to maintain for decades. Carlton Garage Door Repair offers the full range: Garage Door Repair in Sacramento, Garage Door Opener Repair in Sacramento, and Garage Door Installation in Sacramento. Call (833) 589-6808 for a free estimate. The price we quote is the price you pay, agreed before any work starts.
Written by the team at Carlton Garage Door Repair, serving Sacramento since 2012.